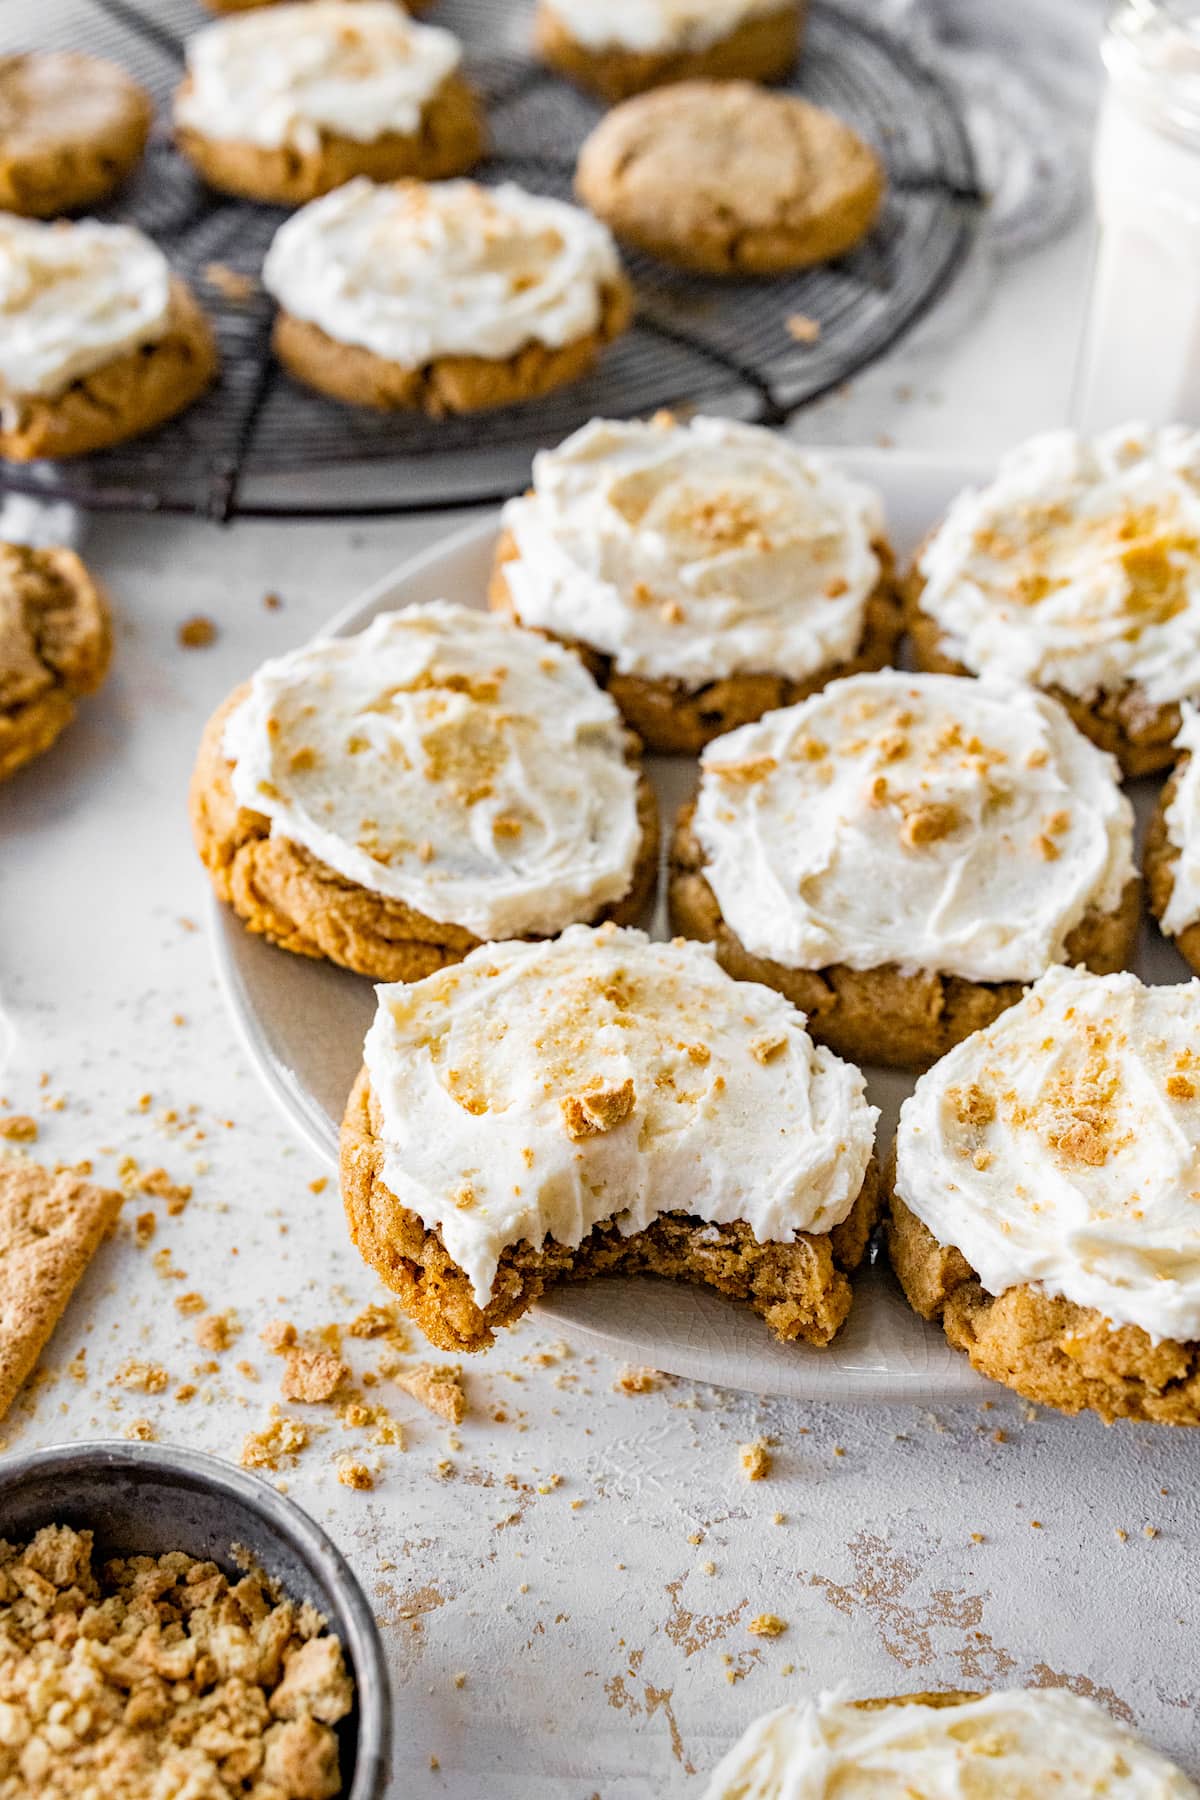
The Best Christmas Cookies
By Maria Lichty
Updated December 09, 2025
Quick Summary
My ultimate Christmas cookie roundup! 45+ festive recipes, from classic sugar cookies and snickerdoodles to chocolatey favorites, nutty treats, peppermint delights, and easy no-bake cookies. Includes baking tips, storage ideas, and holiday gifting inspiration for the perfect cookie season.

Pin this now to find it later
My Ultimate Christmas Cookie Collection
It’s the most wonderful time of the year…COOKIE SEASON! And if there’s one thing I know inside and out, it’s cookies. I’ve developed countless cookie recipes over the years and even wrote an entire cookie cookbook, Let’s Eat Cookies , so you can trust that every recipe here is truly tried-and-true.
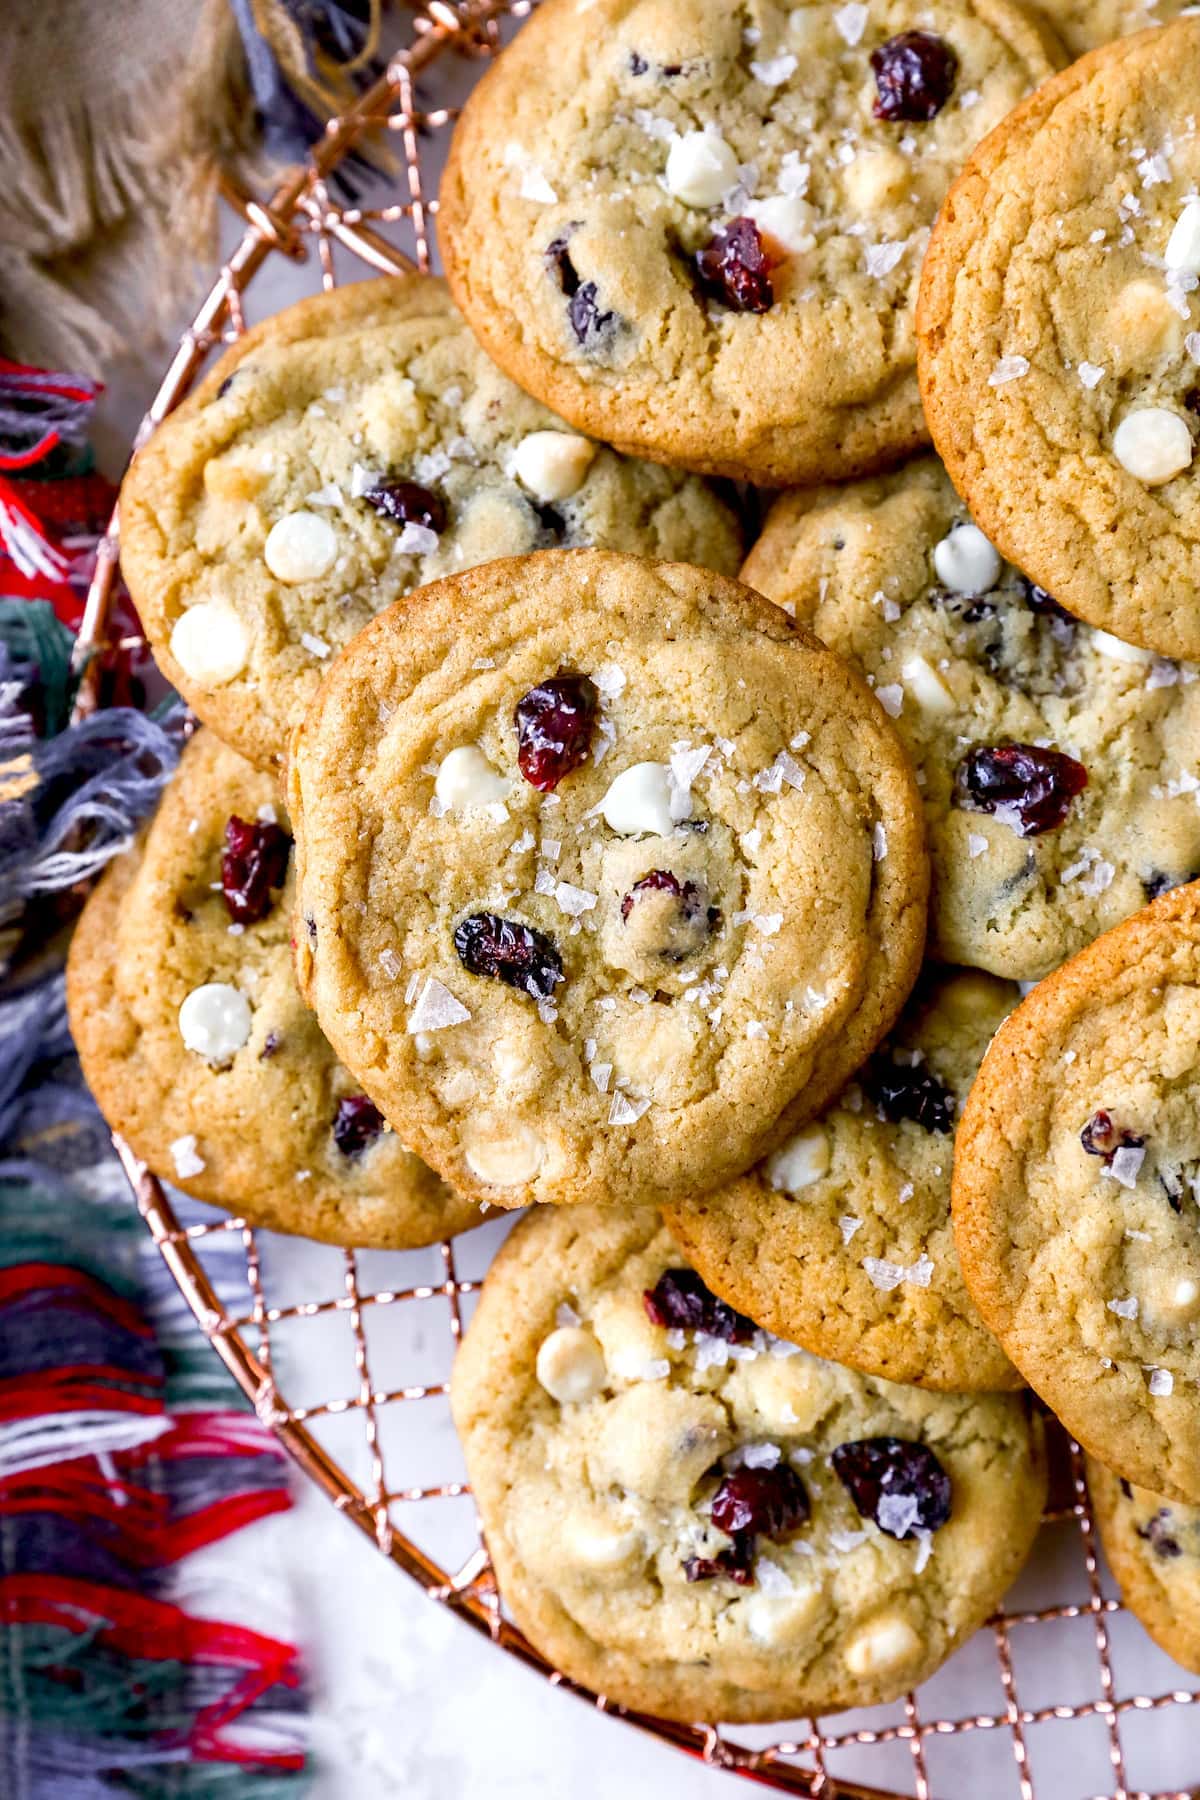
These are the very best holiday cookies…the ones that turn out perfectly every time, the ones your family will beg you to make again, the ones that win cookie competitions and disappear in minutes at cookie exchanges. My goal is always the same: simple techniques, reliable results, and cookies that deliver BIG flavor.
Whether you’re planning a cookie exchange, filling holiday tins for friends and neighbors, or building a festive dessert spread, this roundup has something for everyone.
And the best part? I’m also share baking tips, storage advice, and cookie gifting inspiration so your holiday treats turn out perfectly every time.
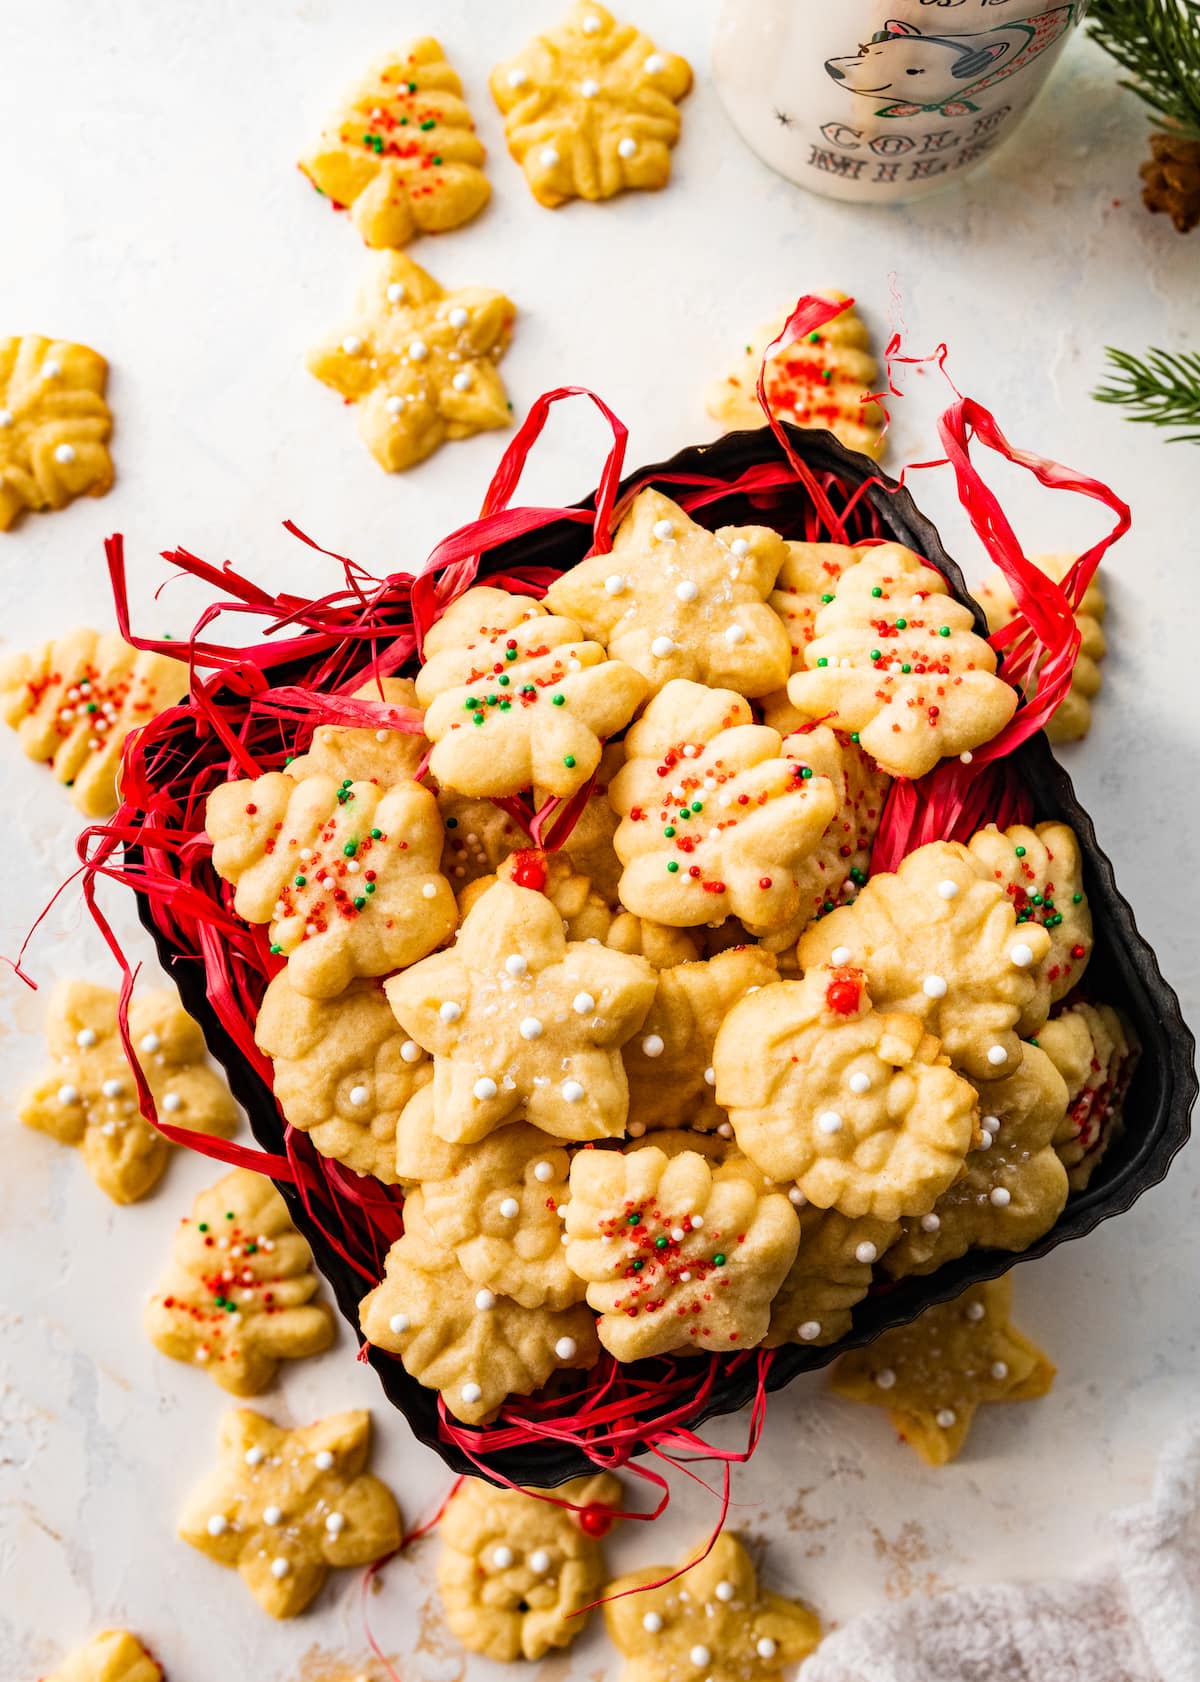
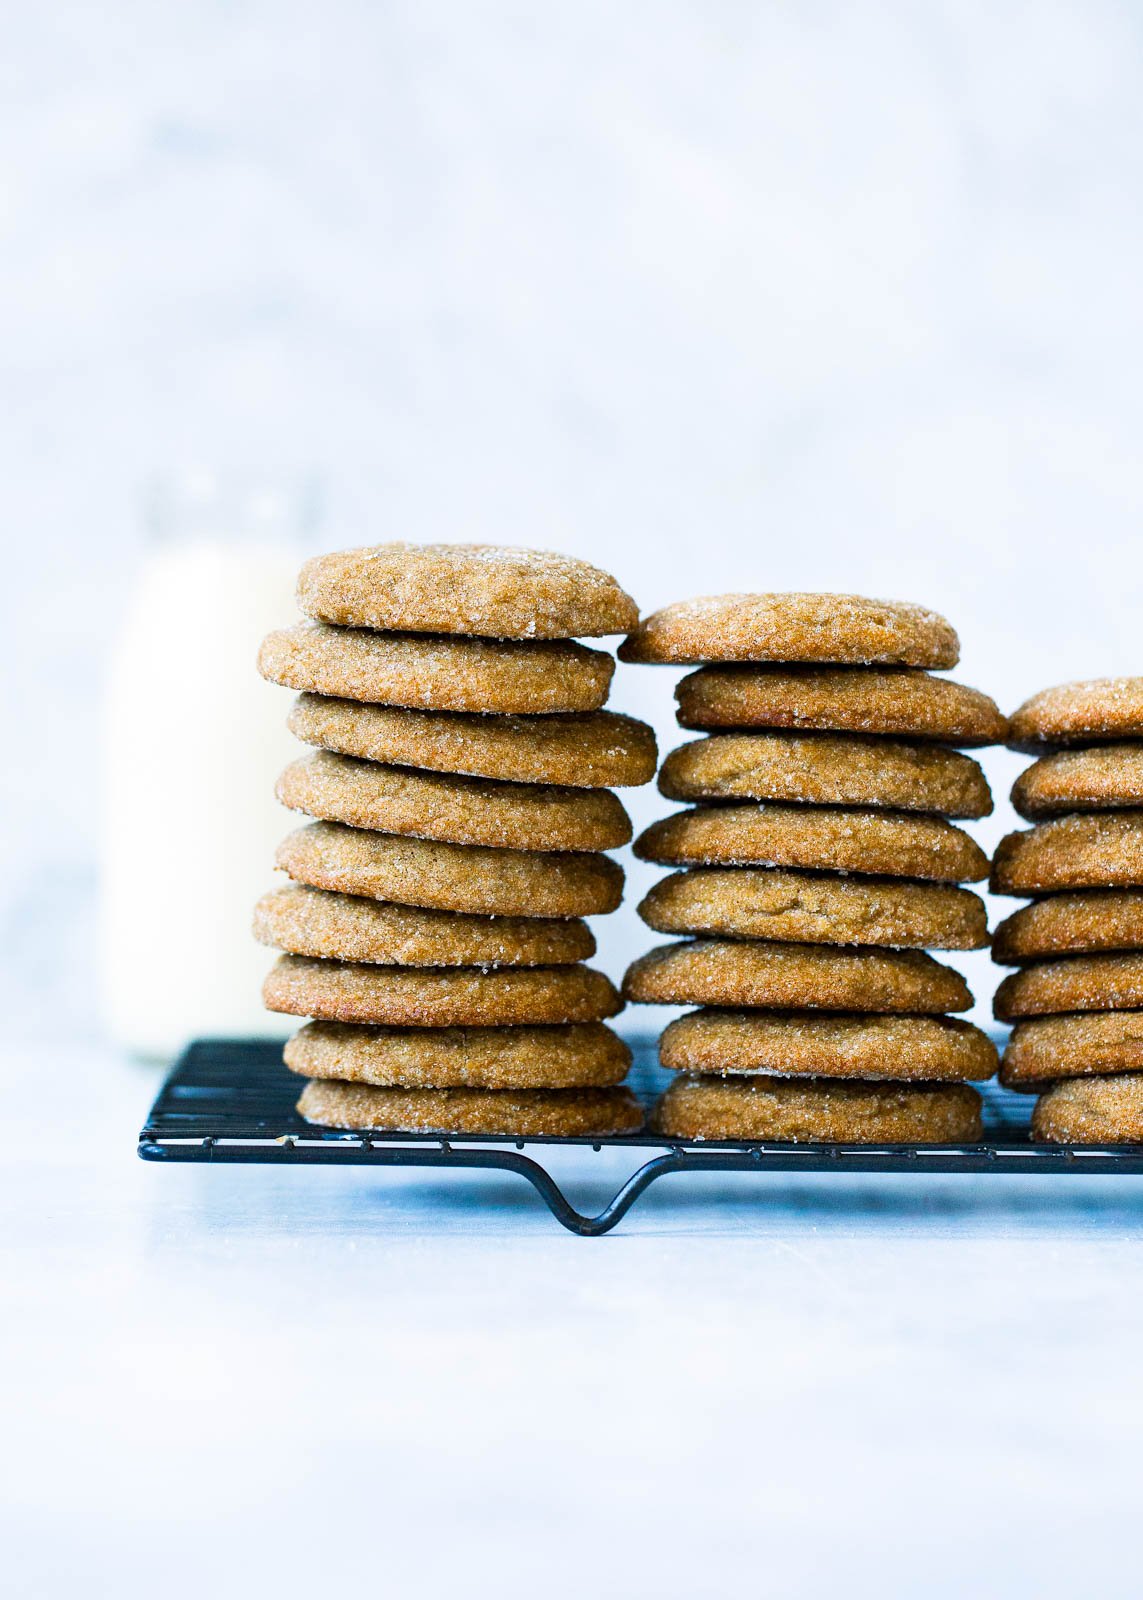
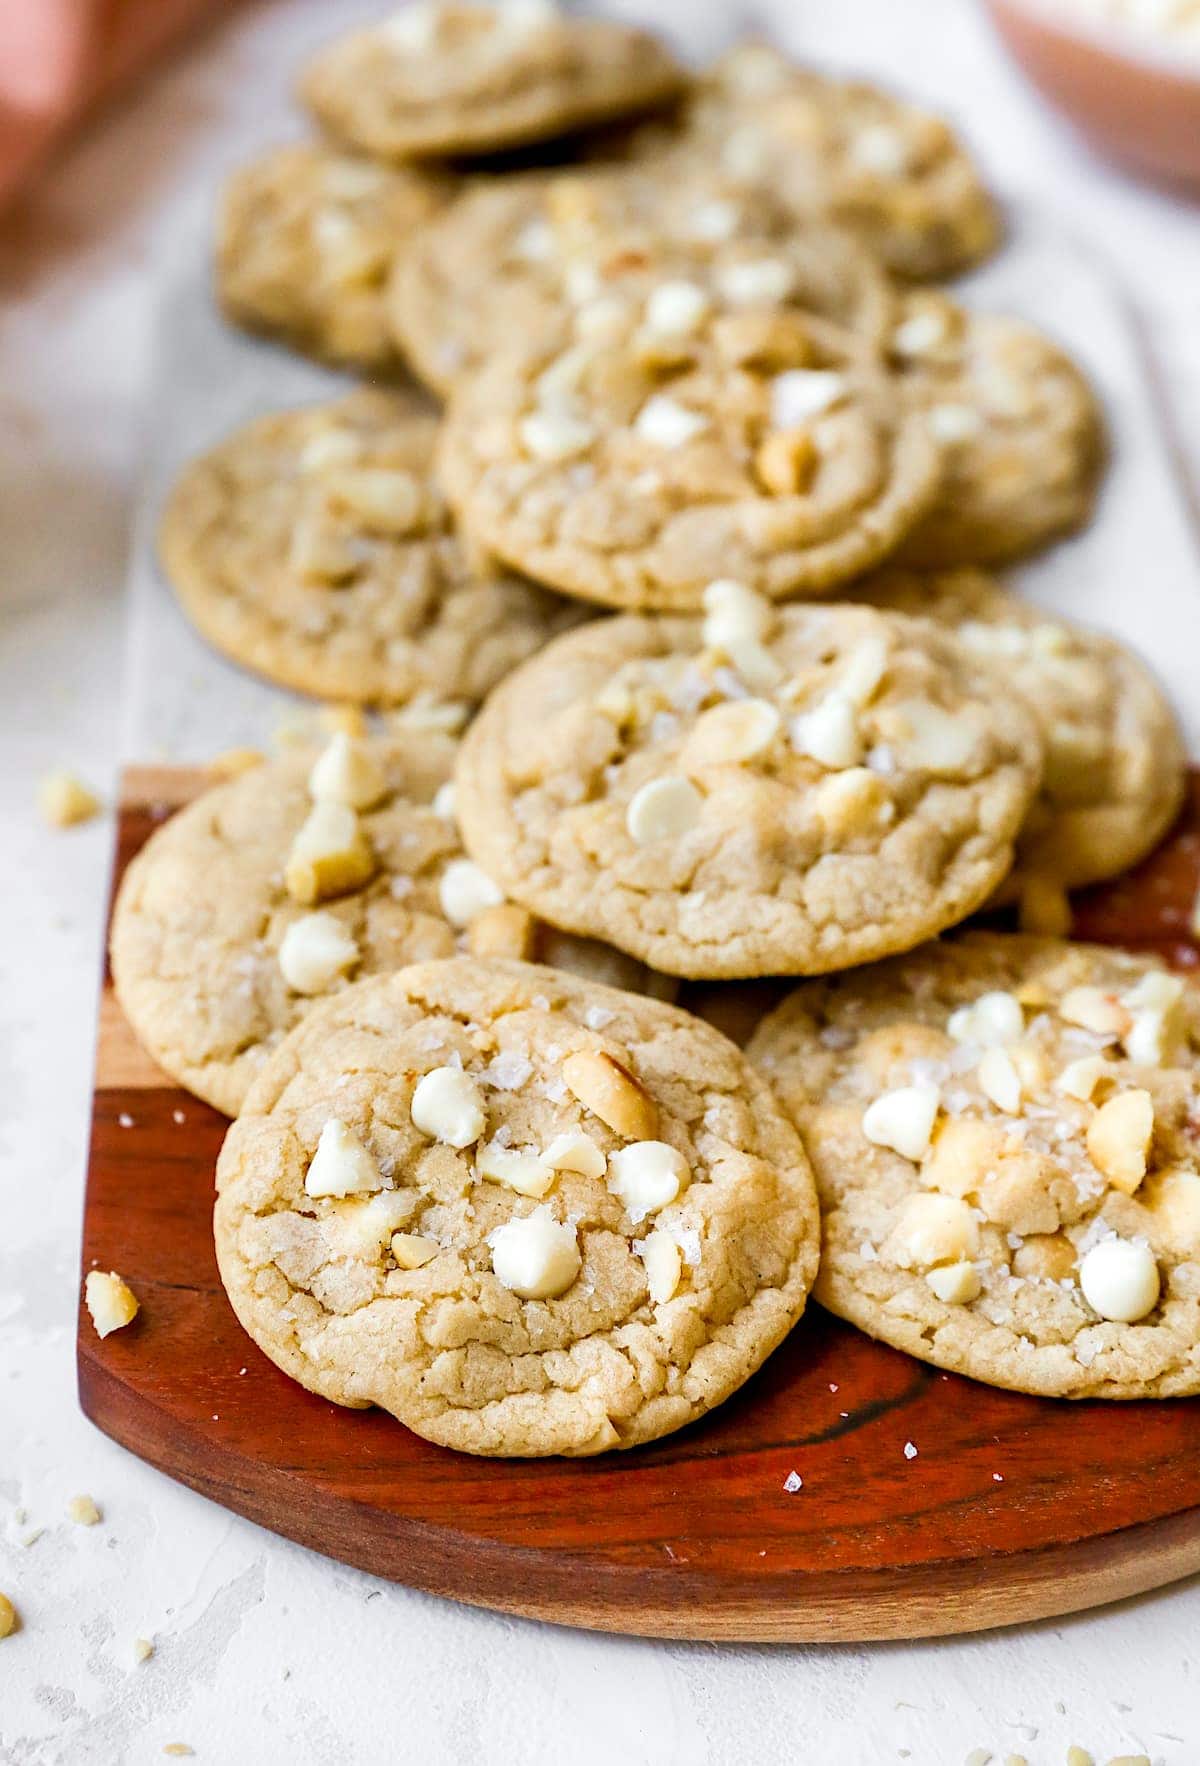
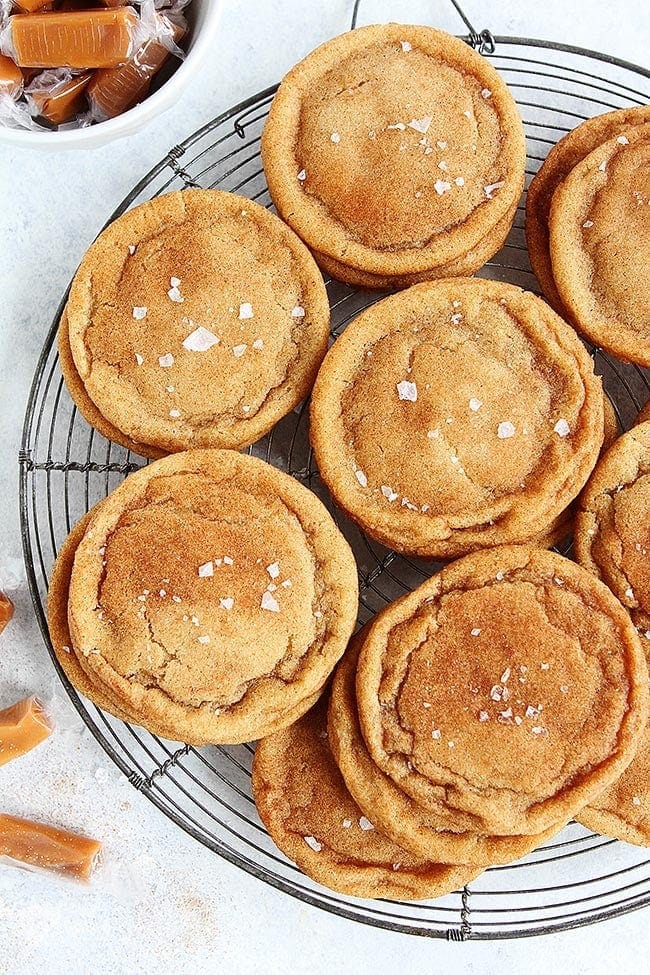
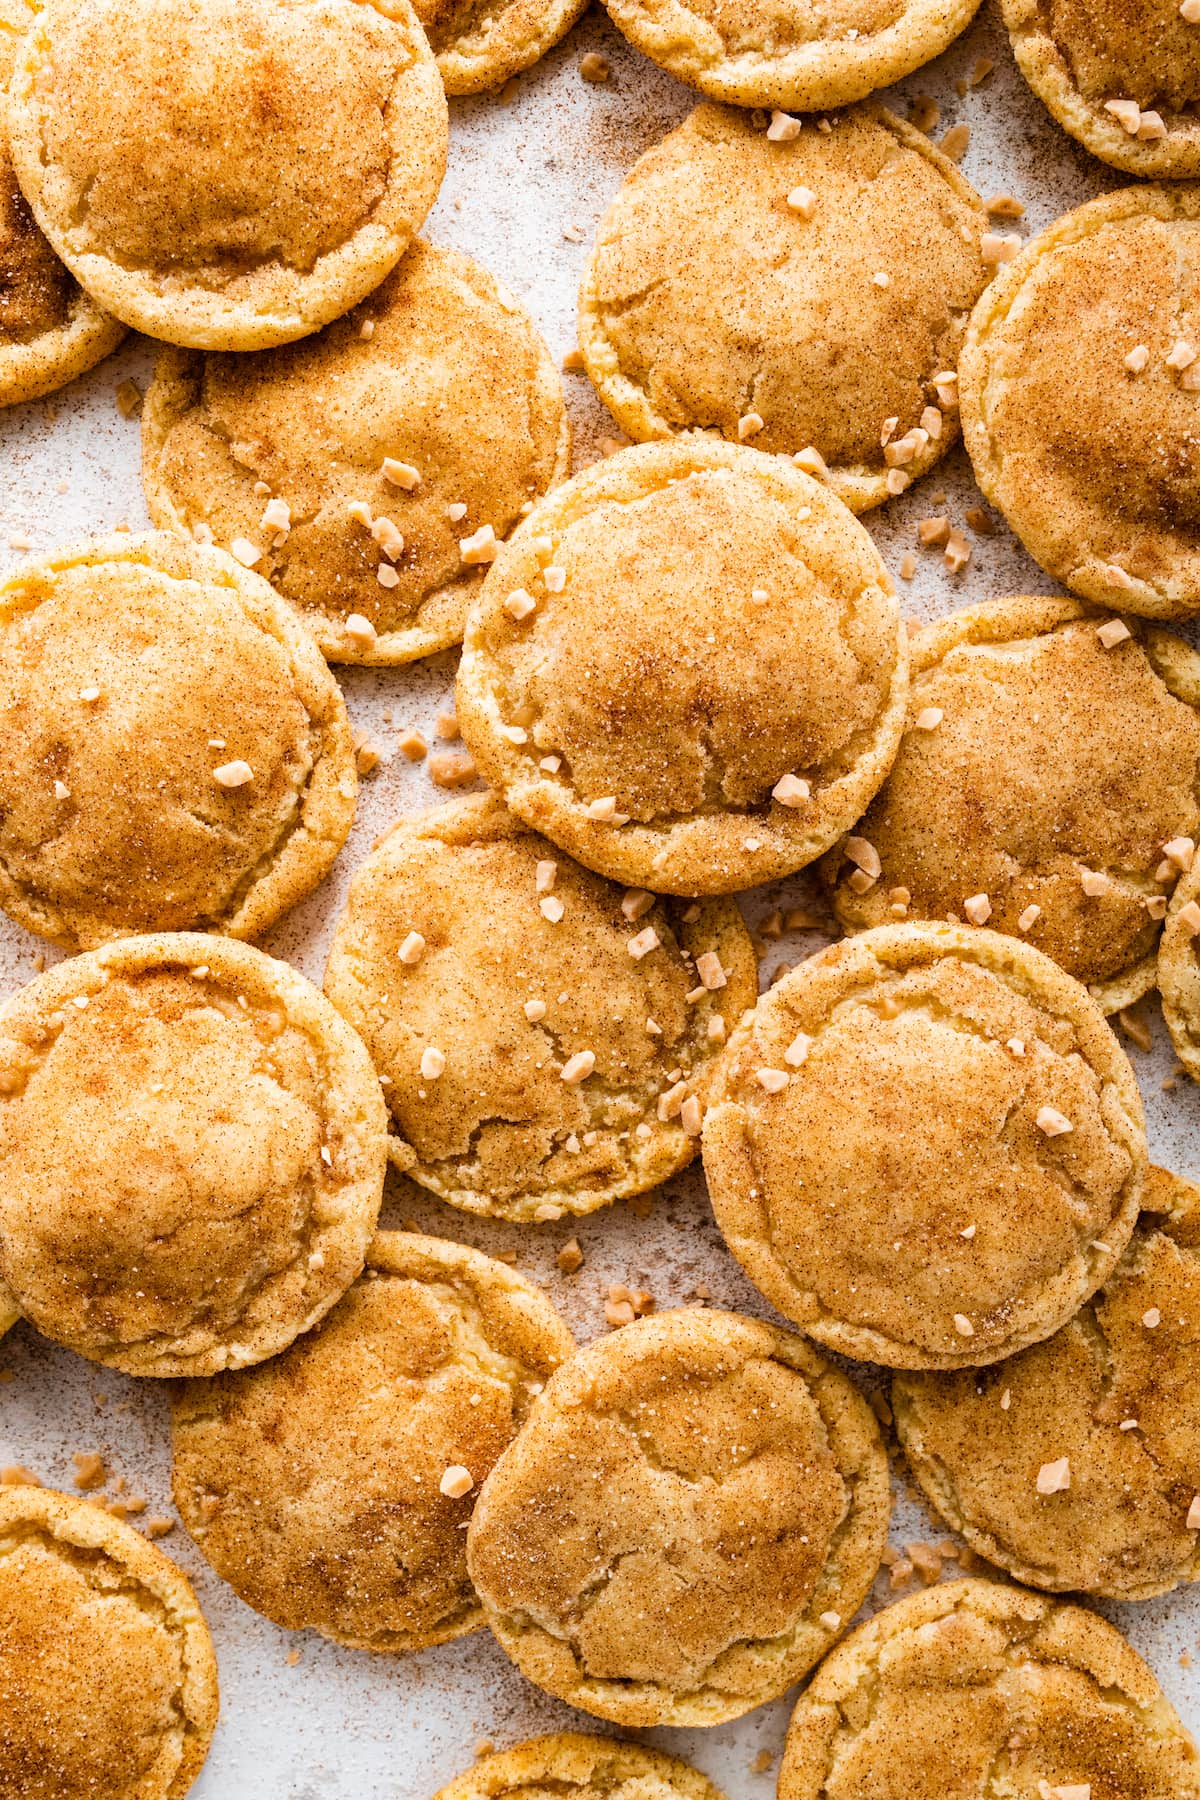
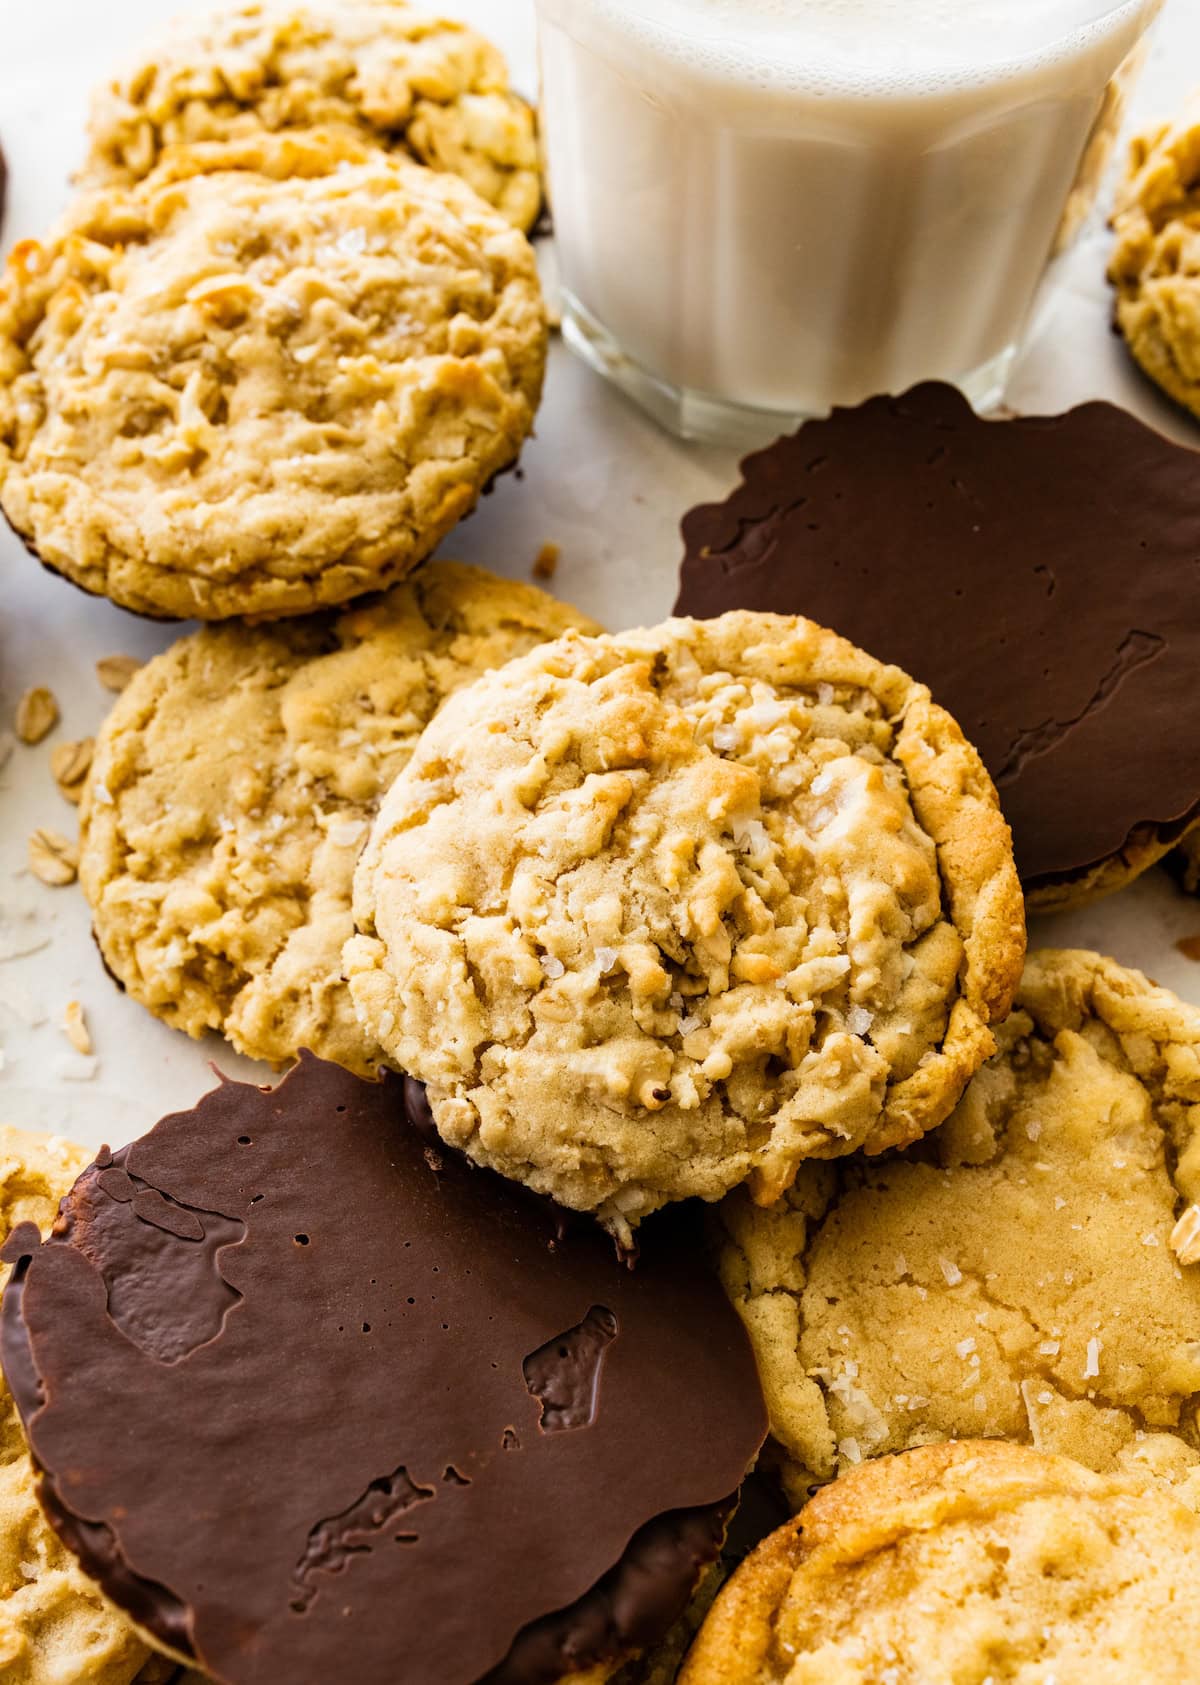
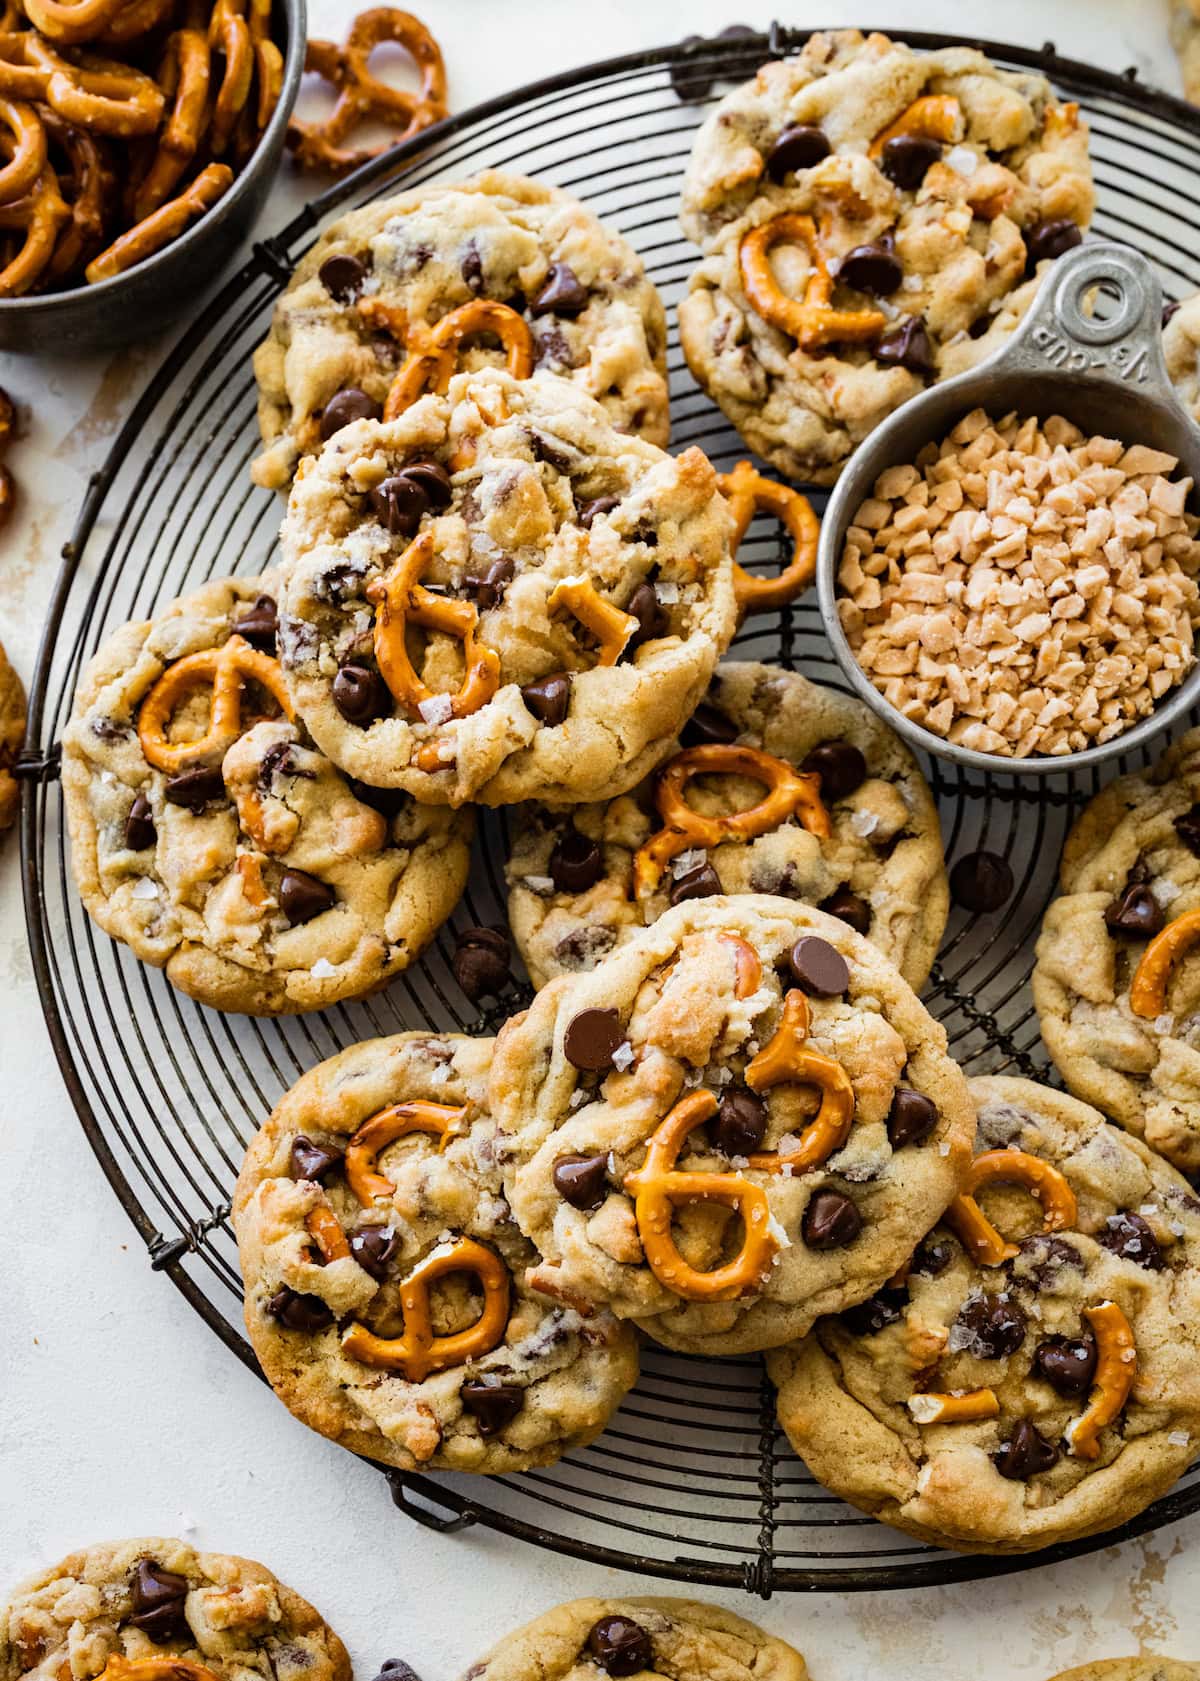
Classic Christmas Cookies
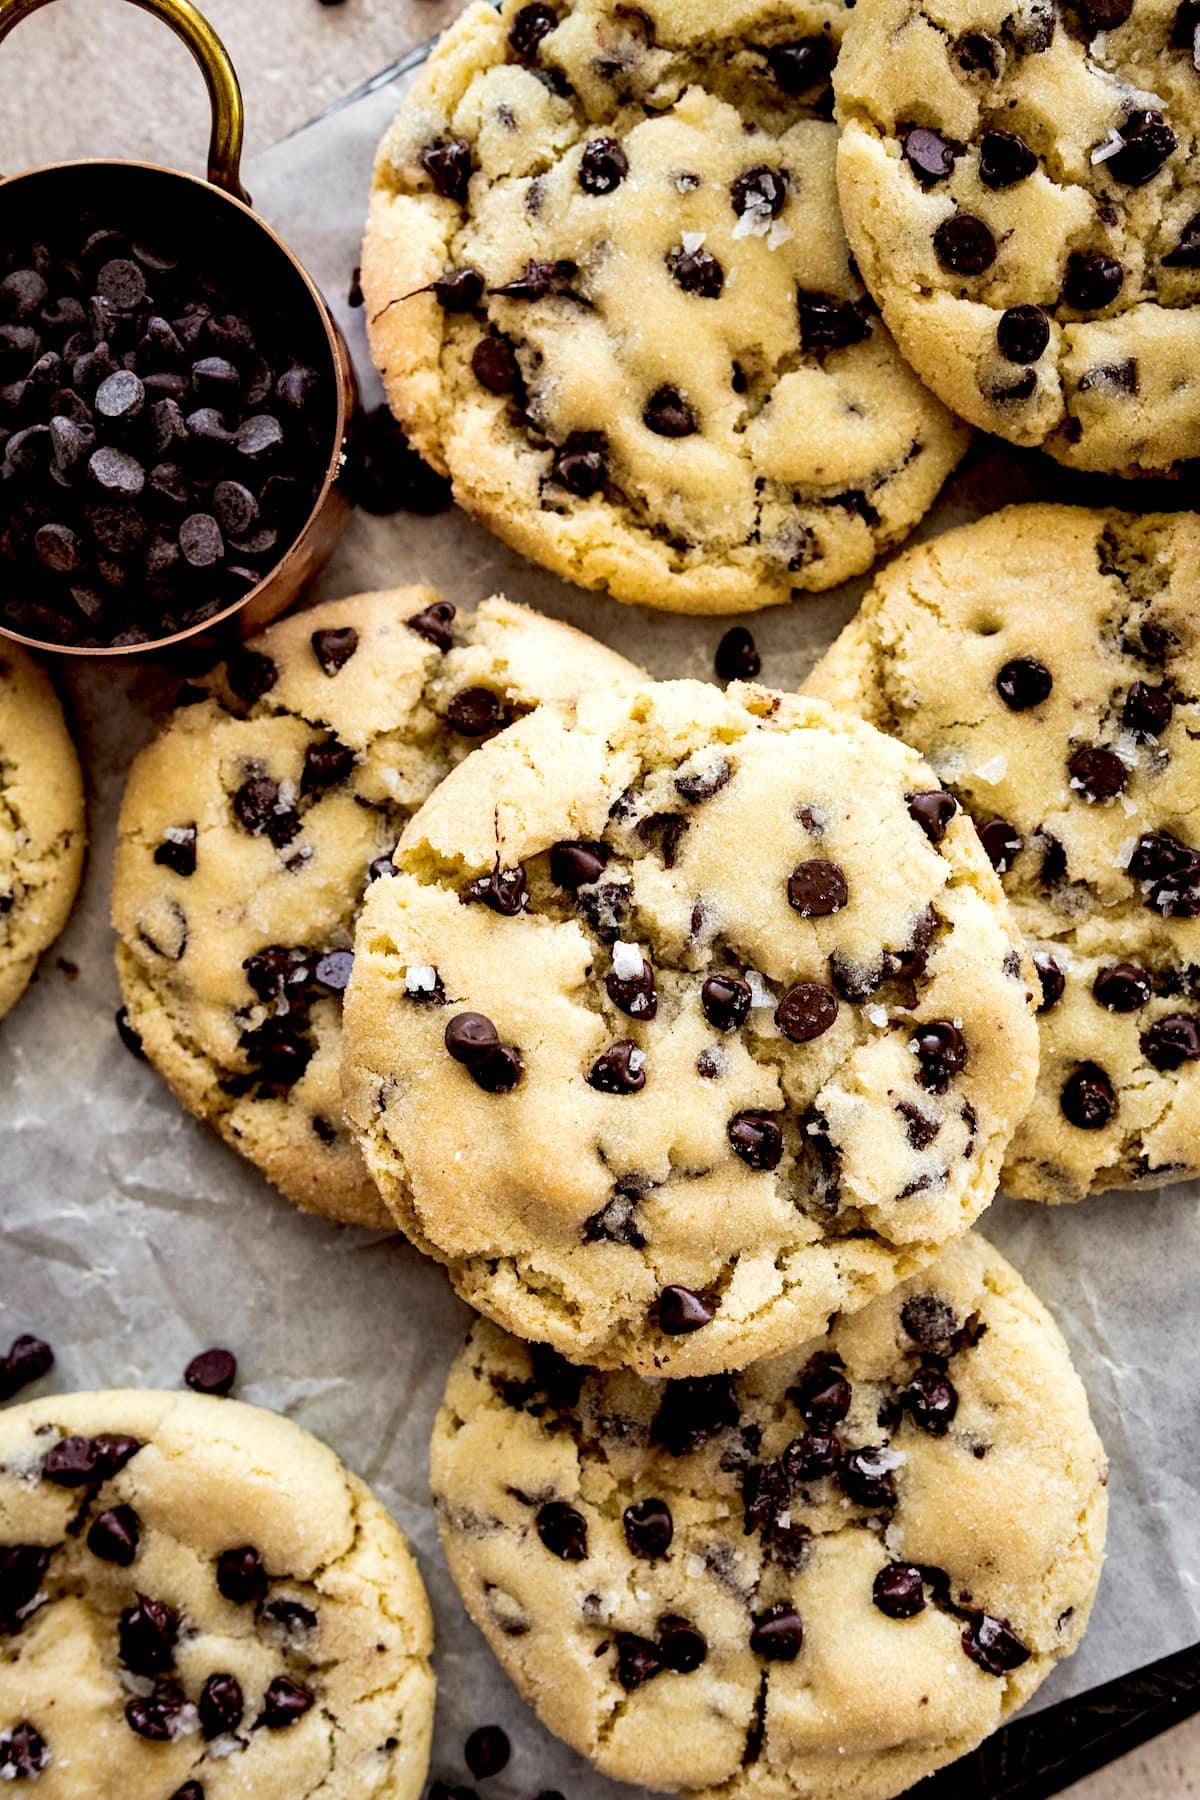


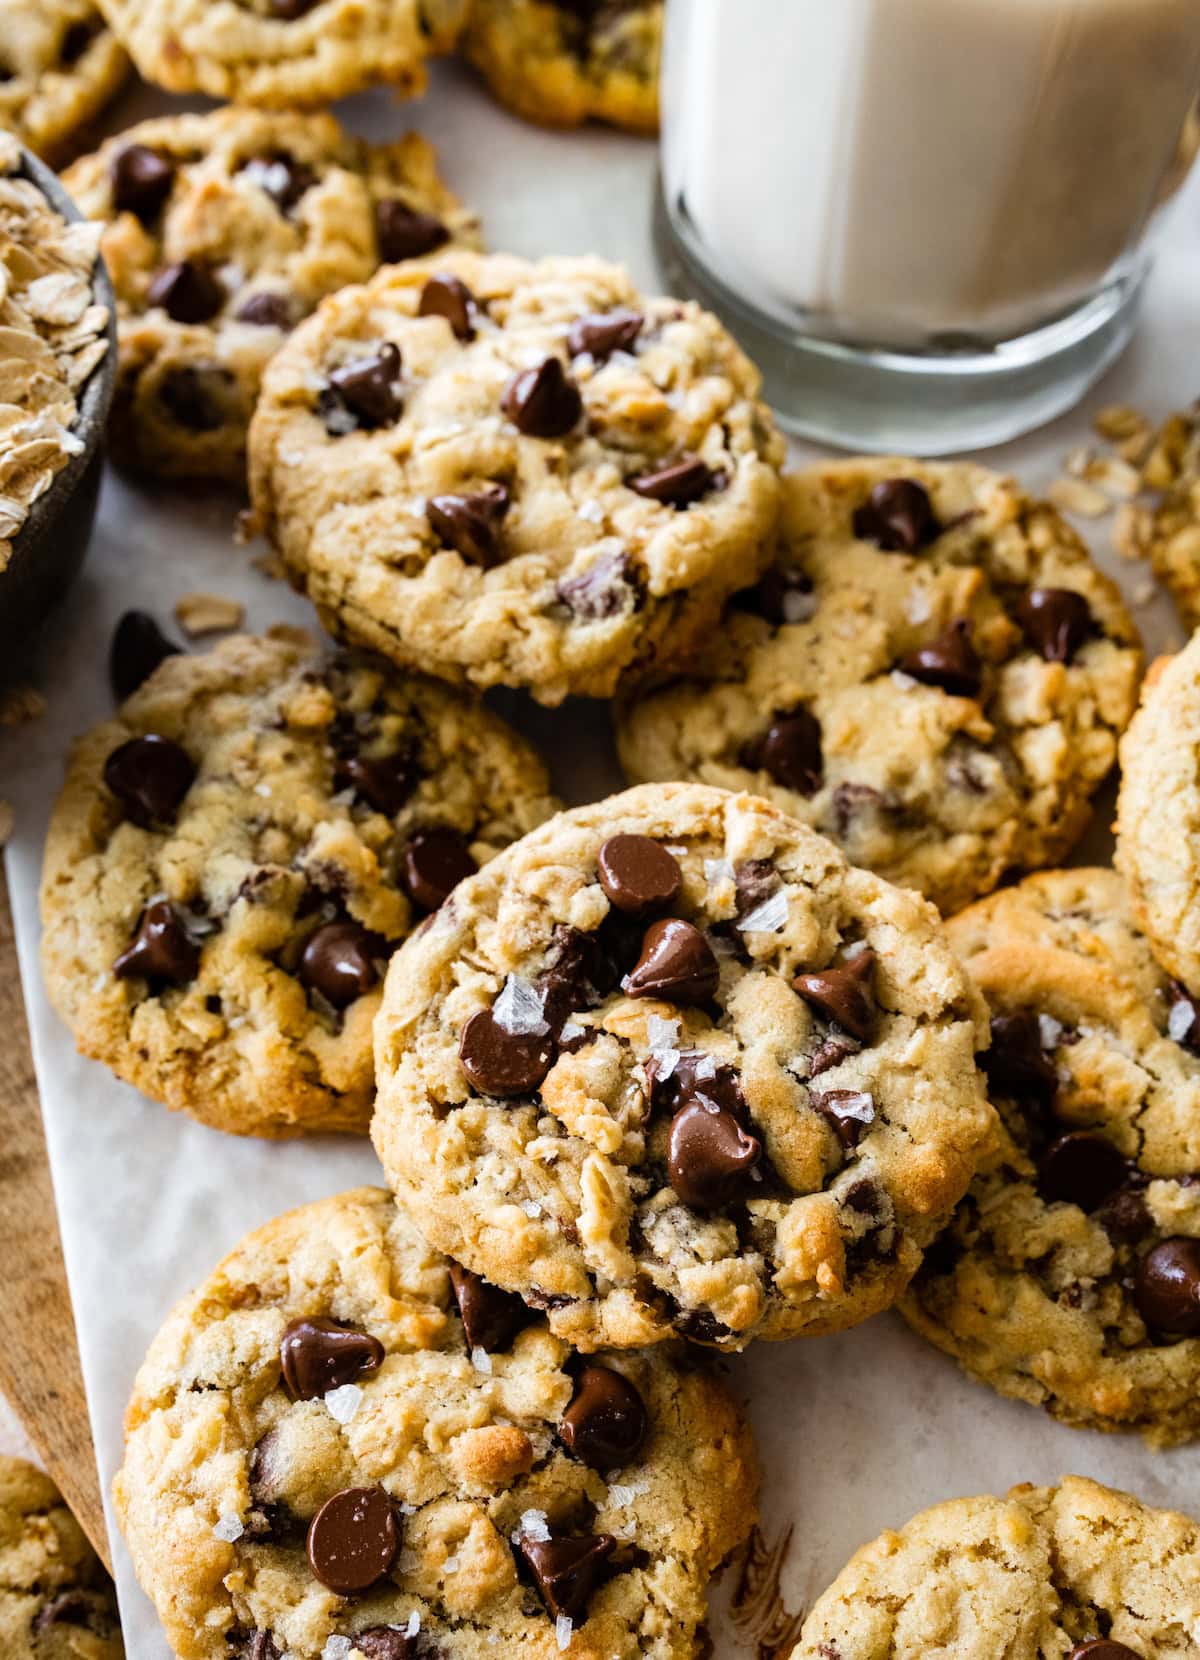
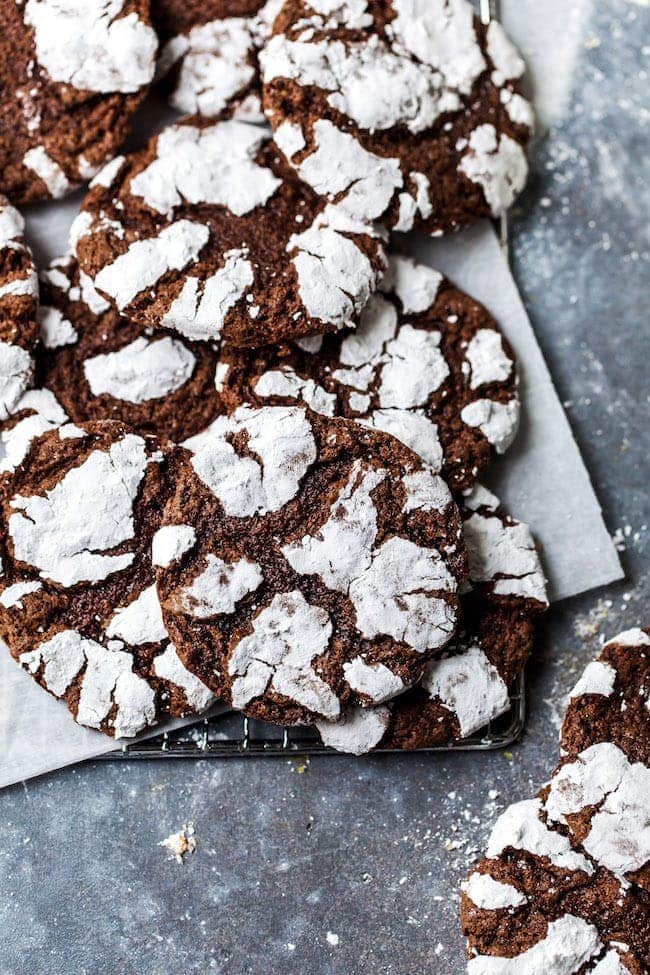
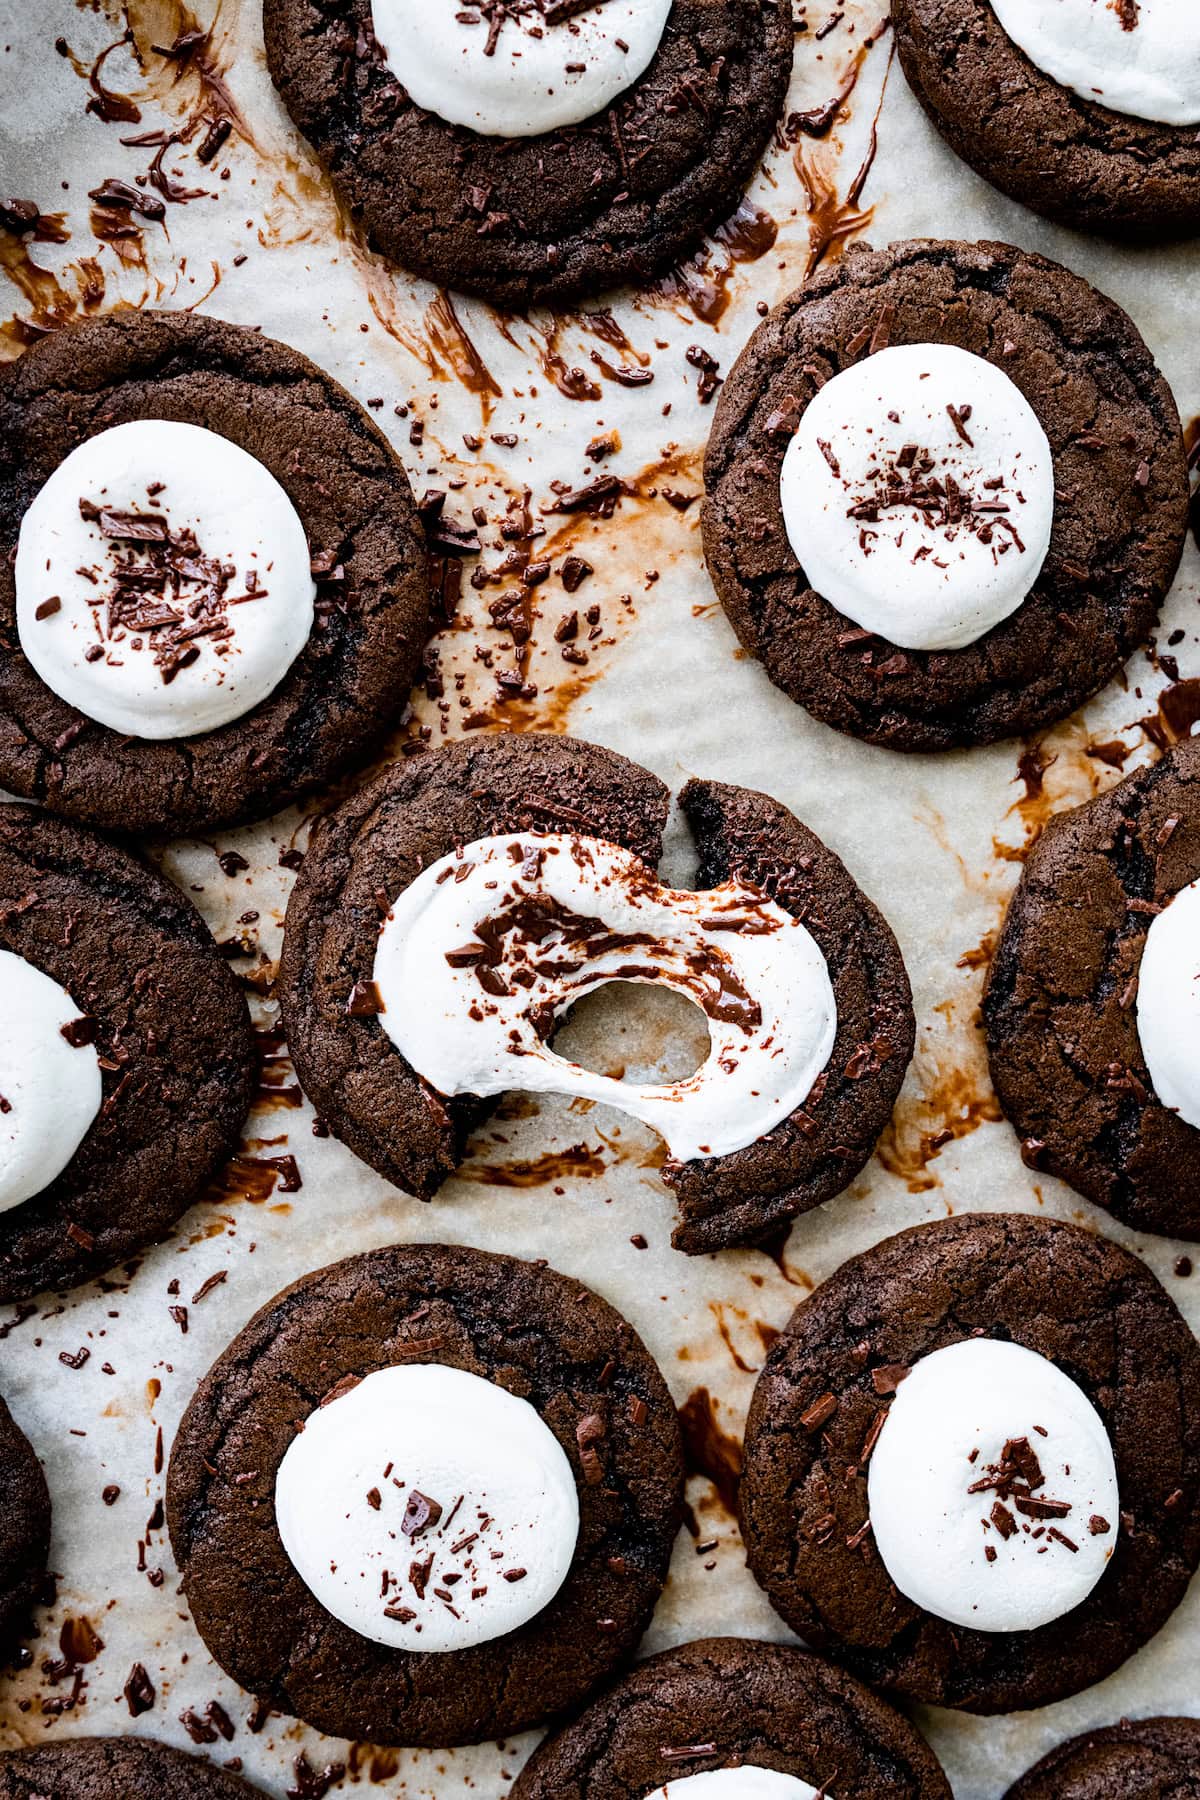
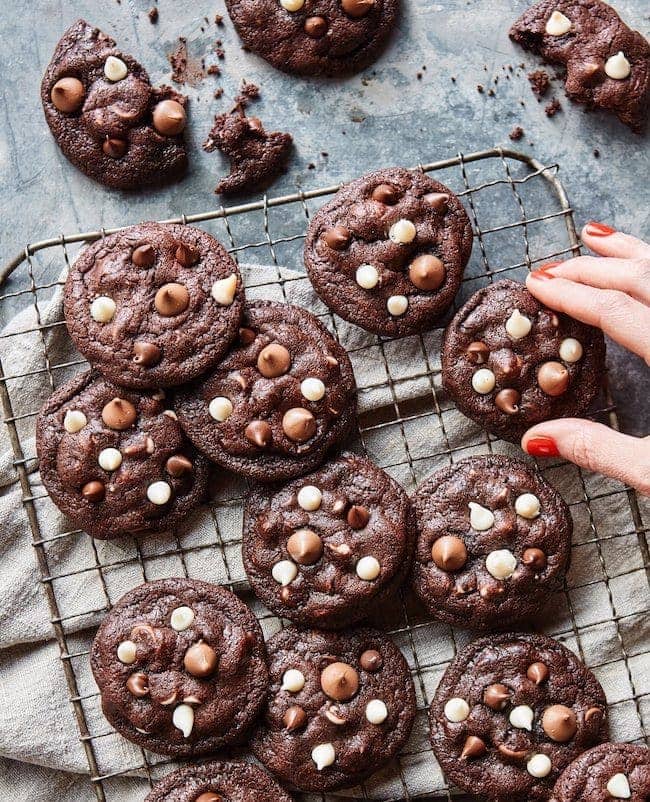
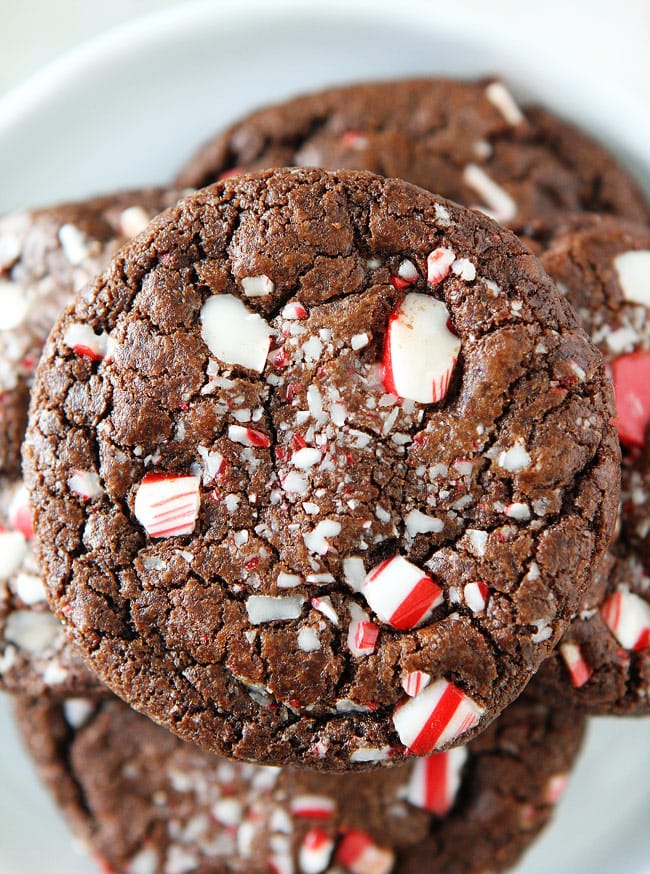
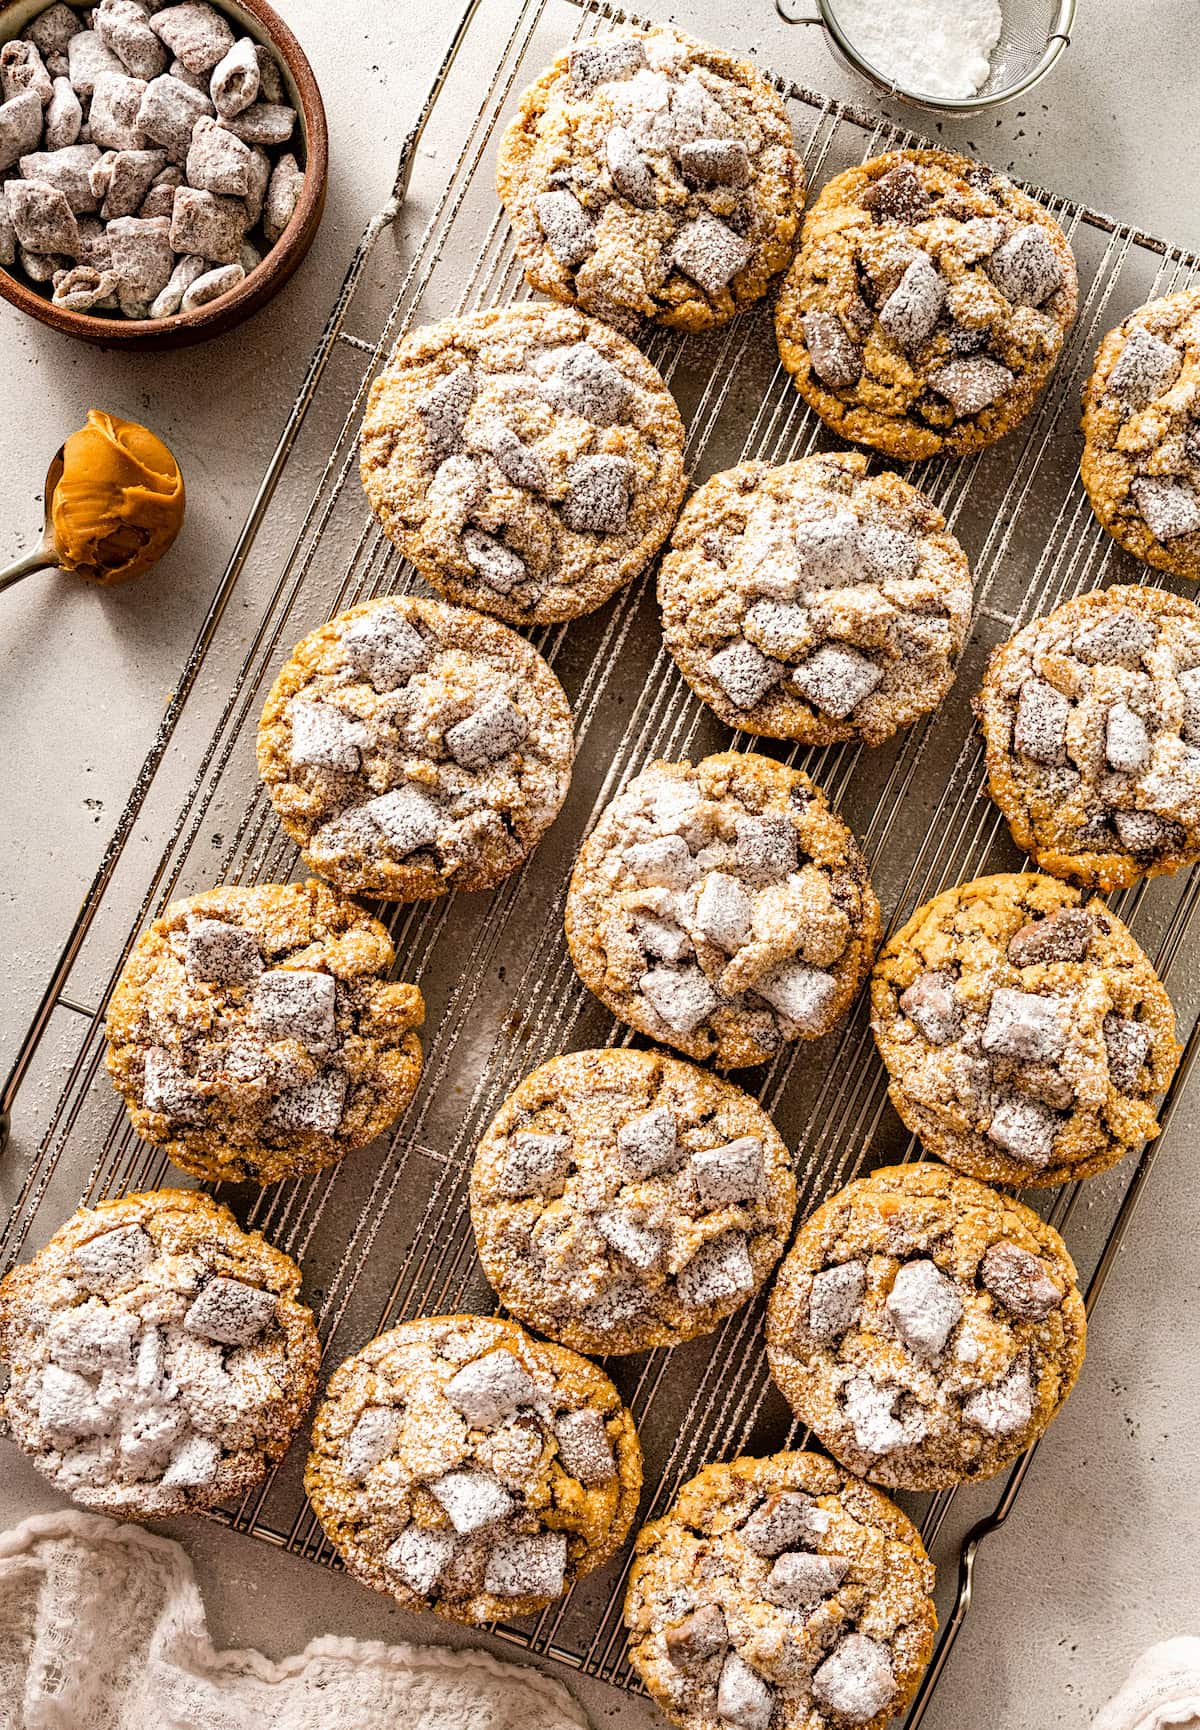
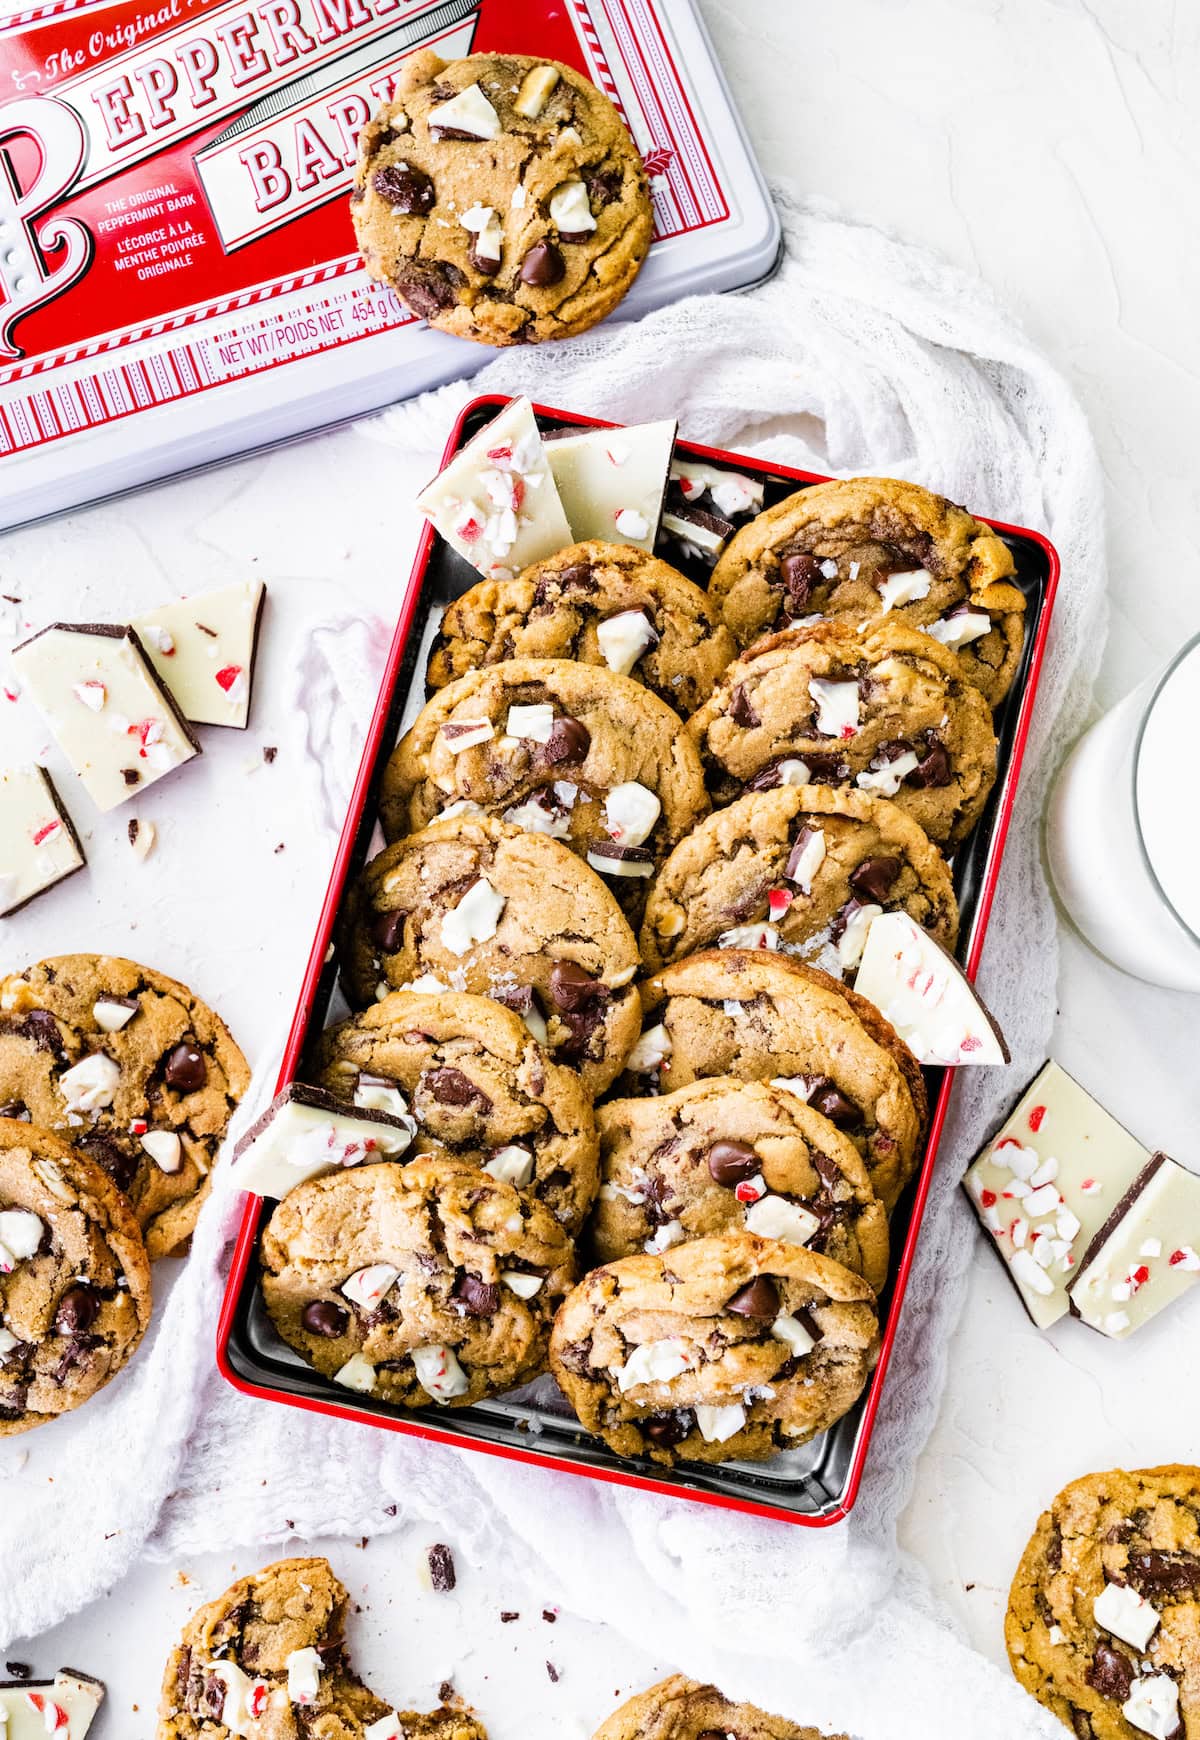
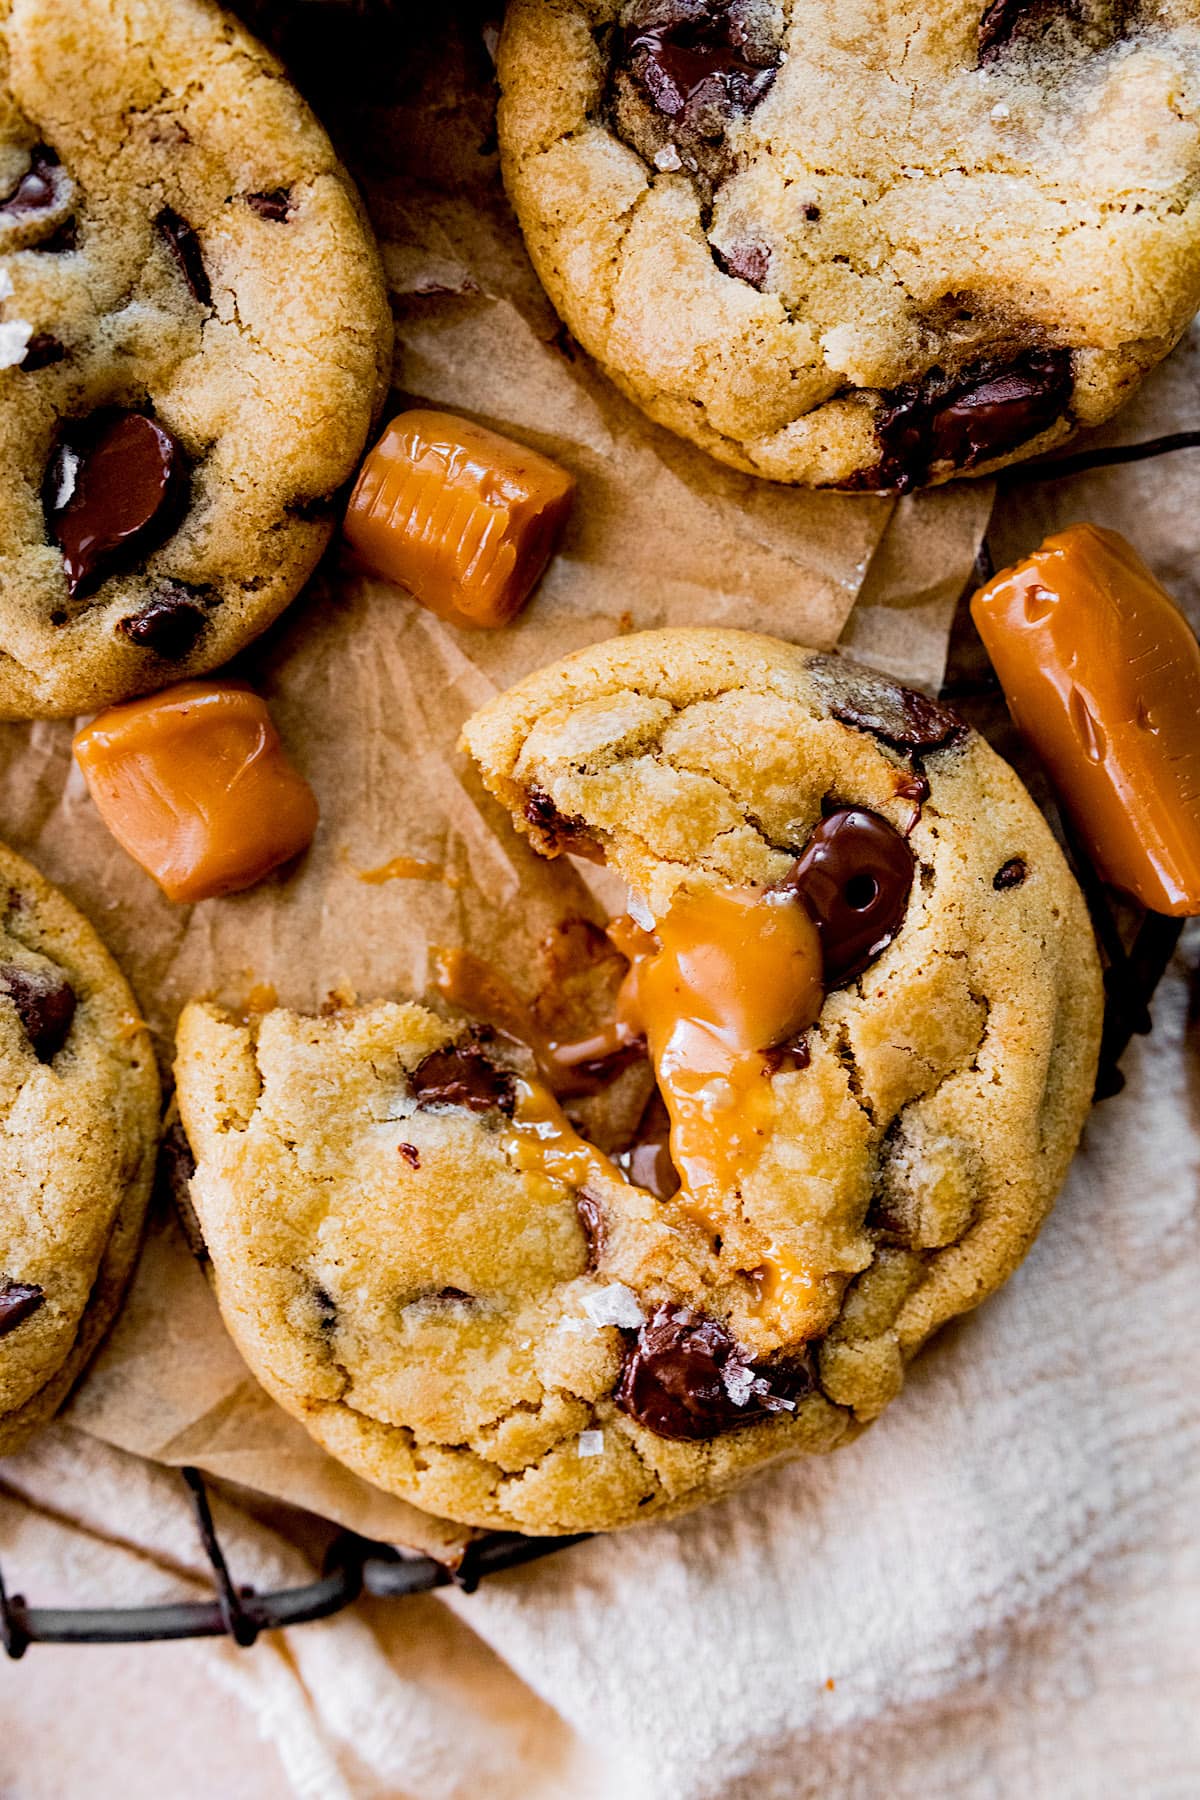
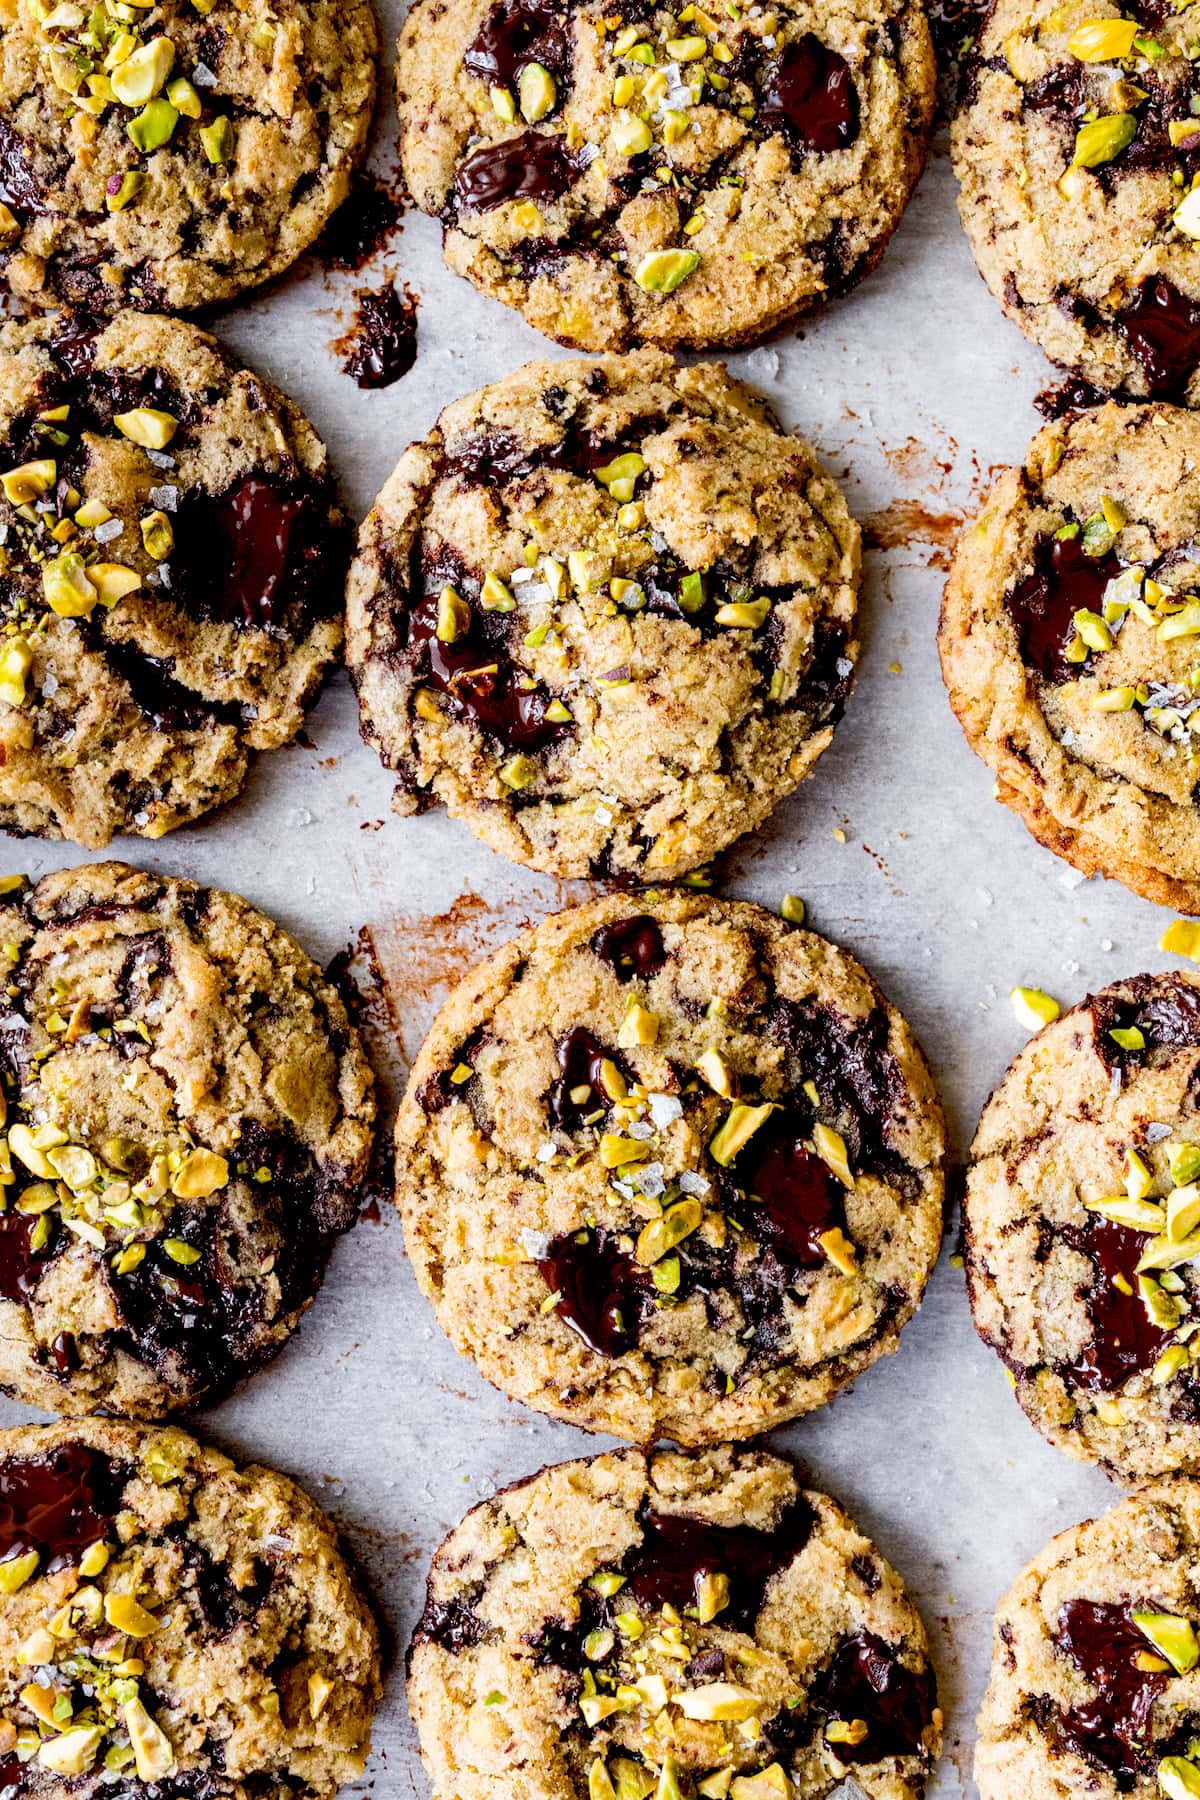
Chocolate Lovers Cookies

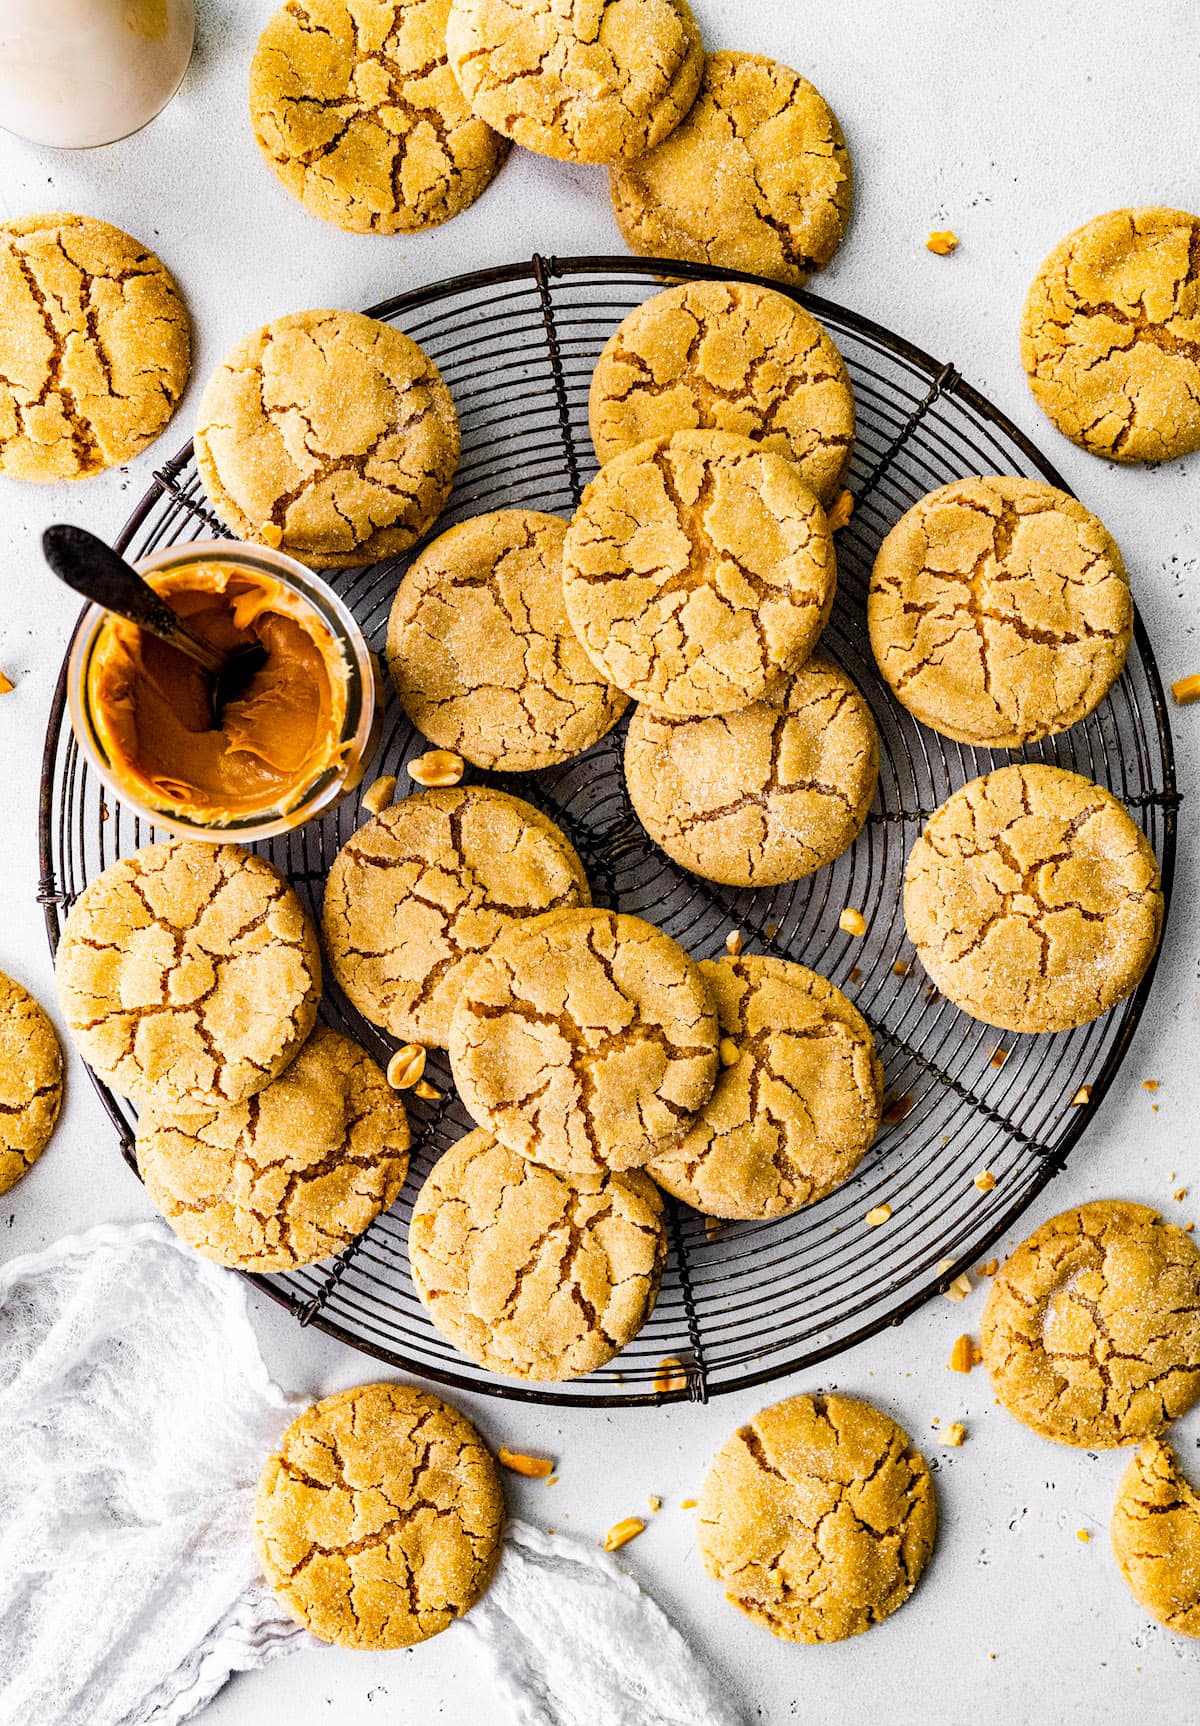
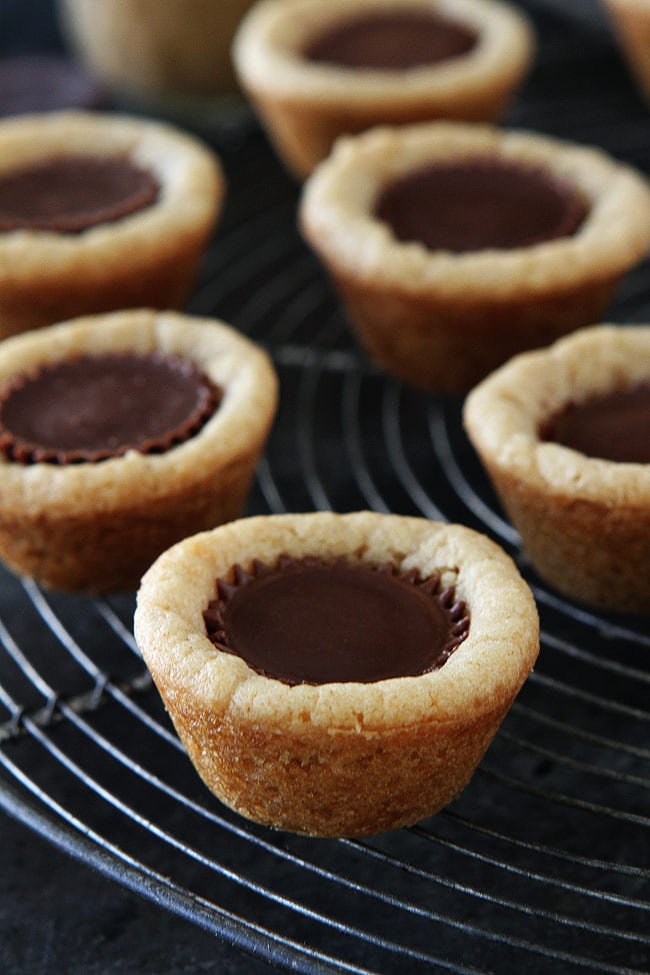
Peanut Butter Cookies
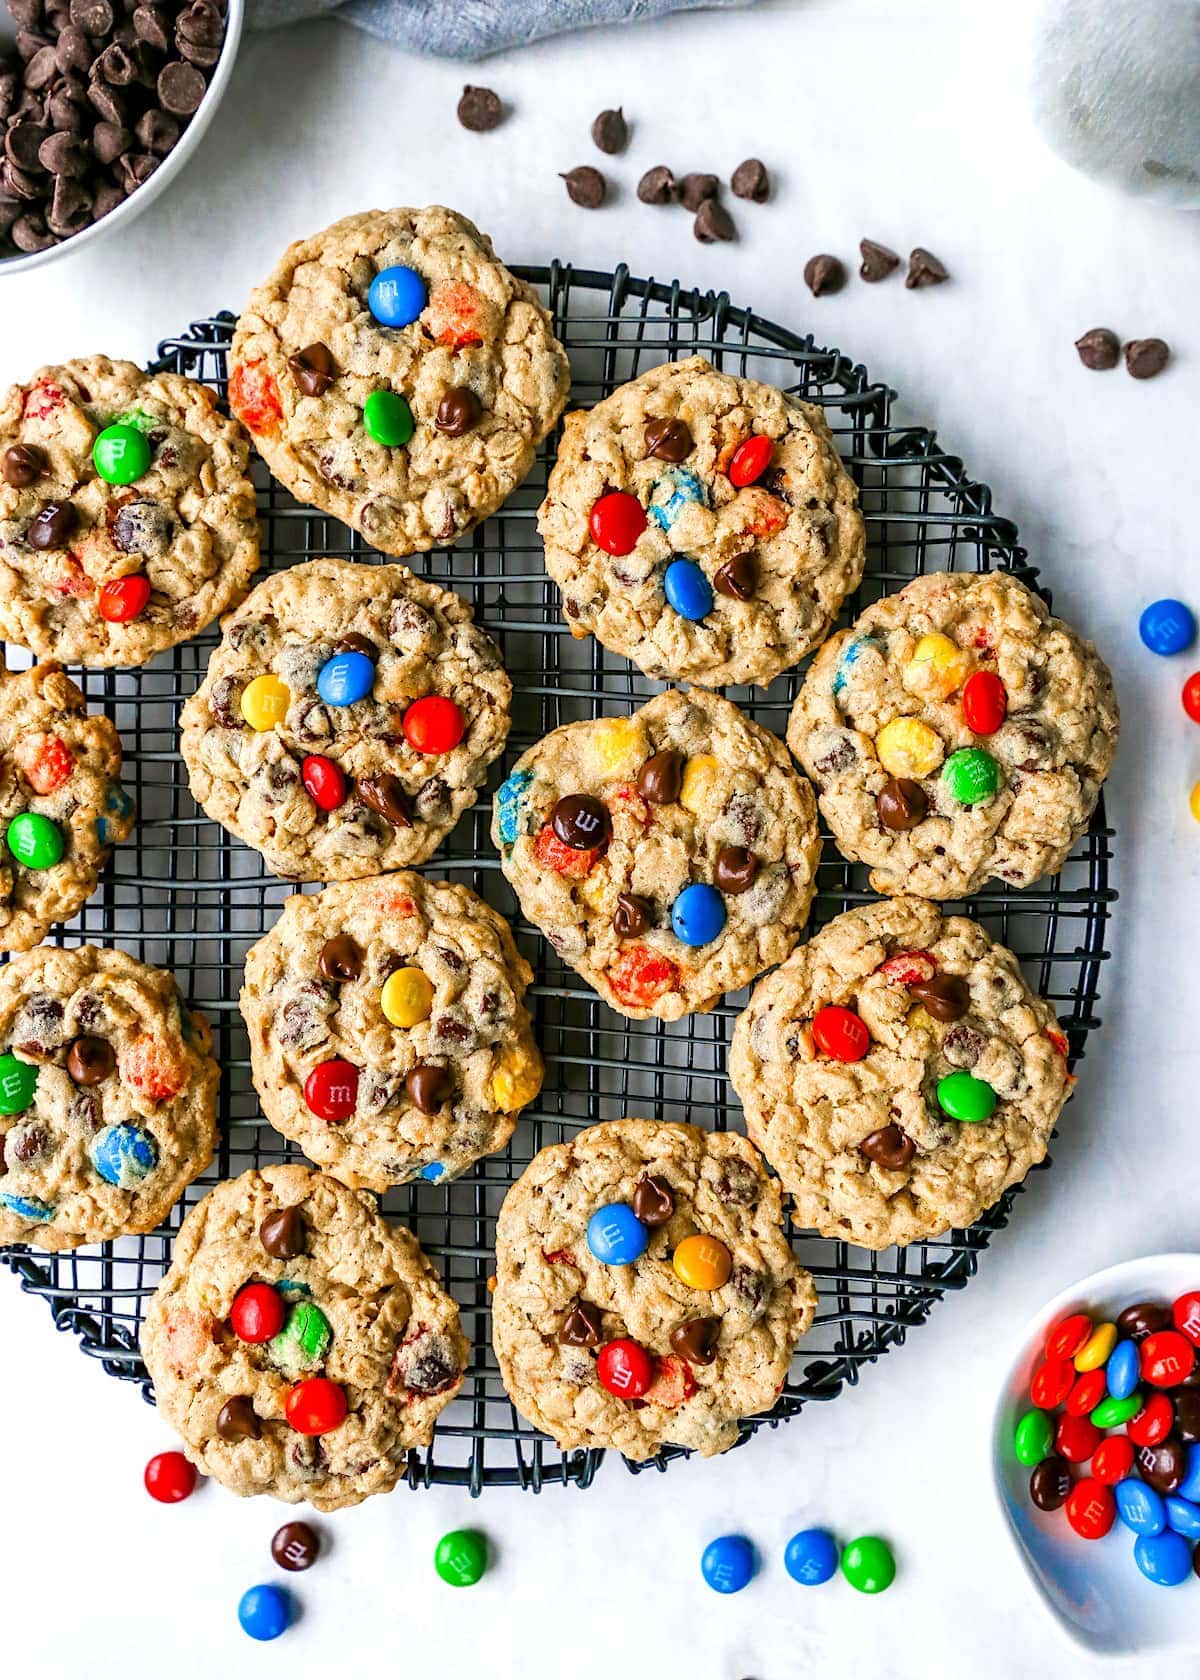
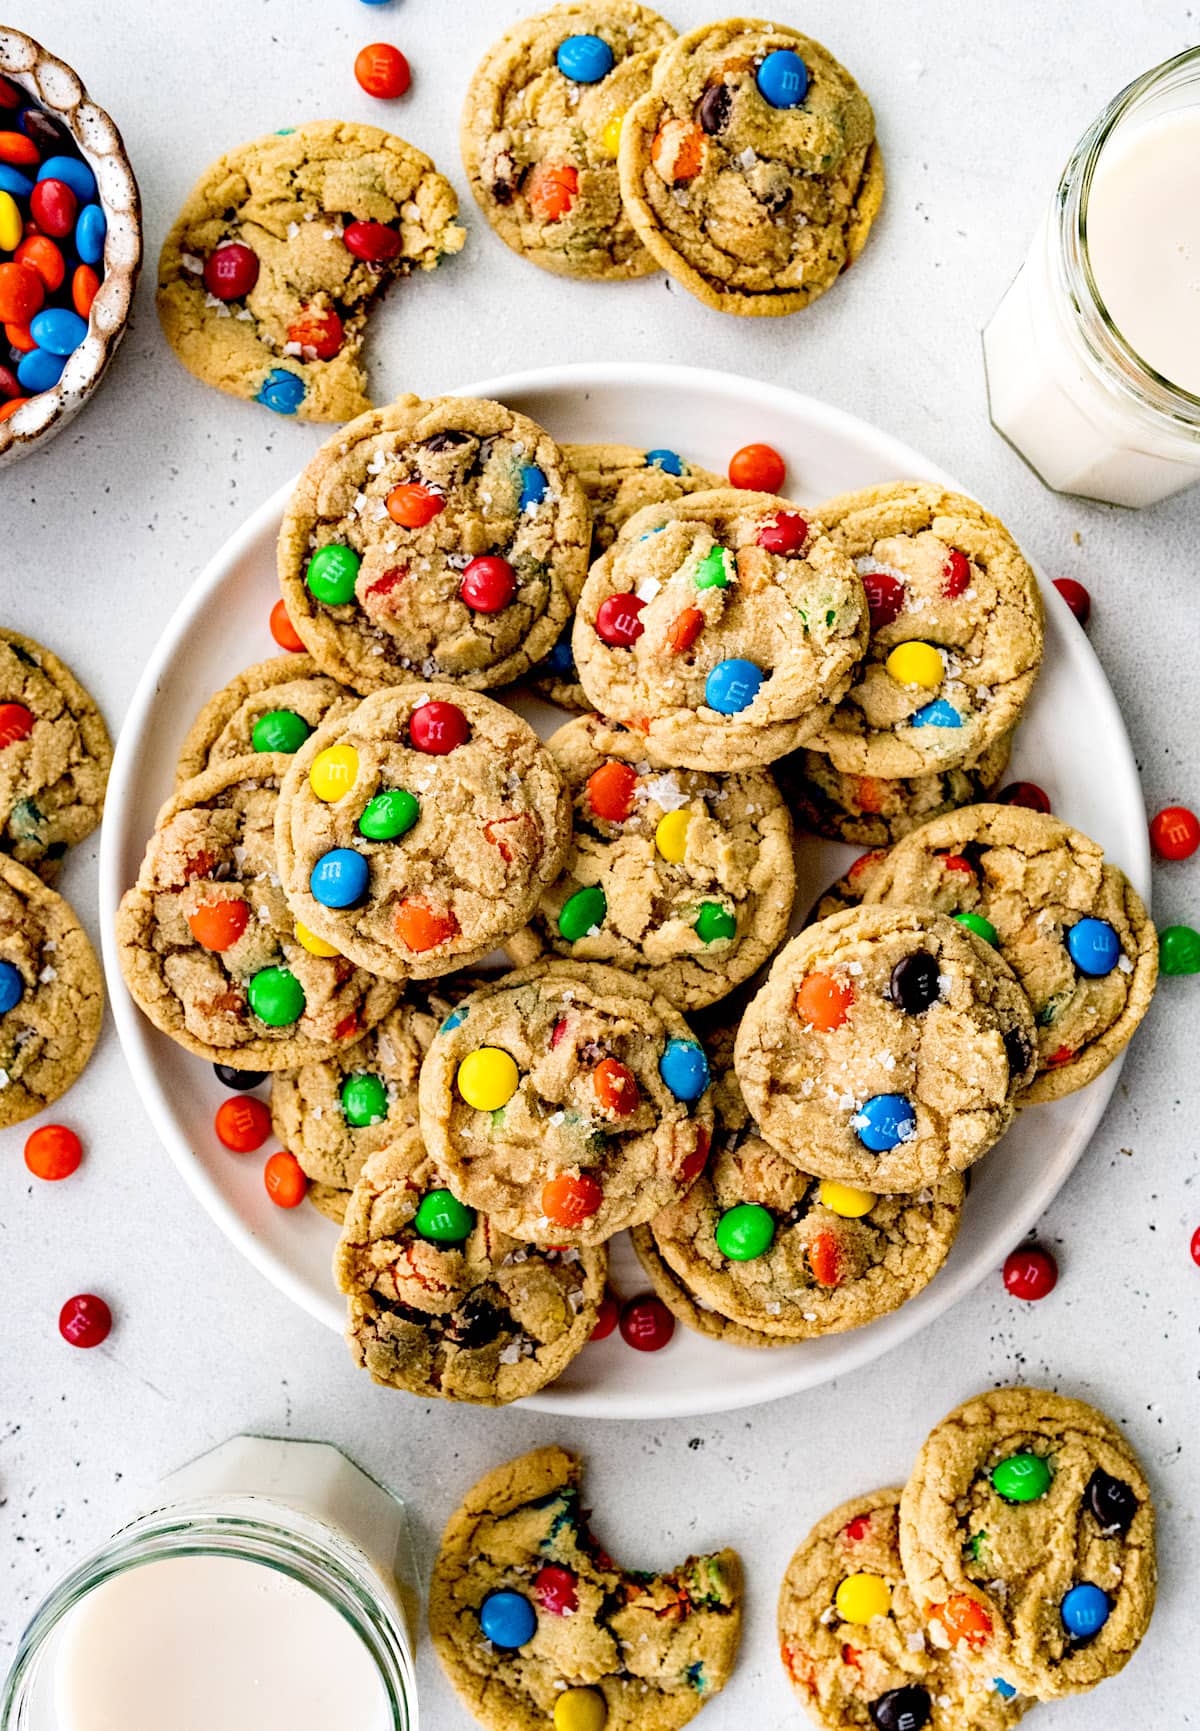
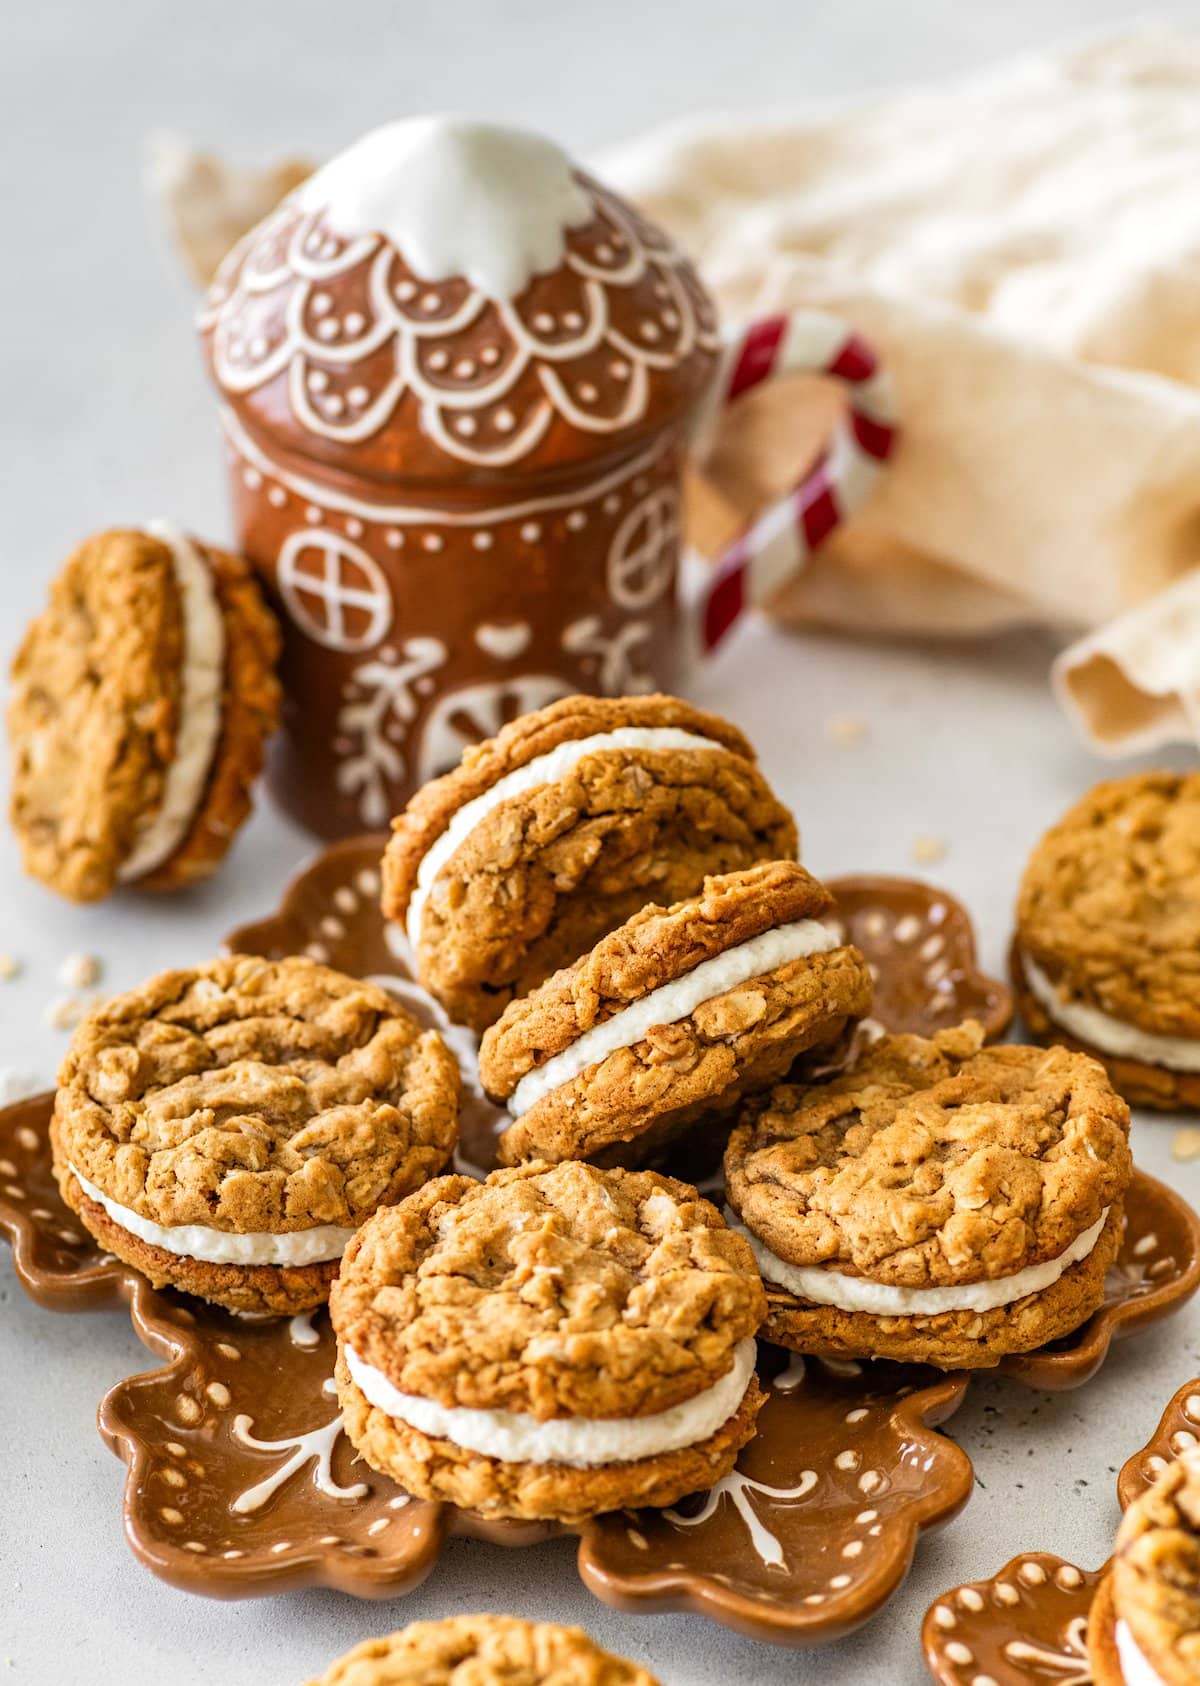
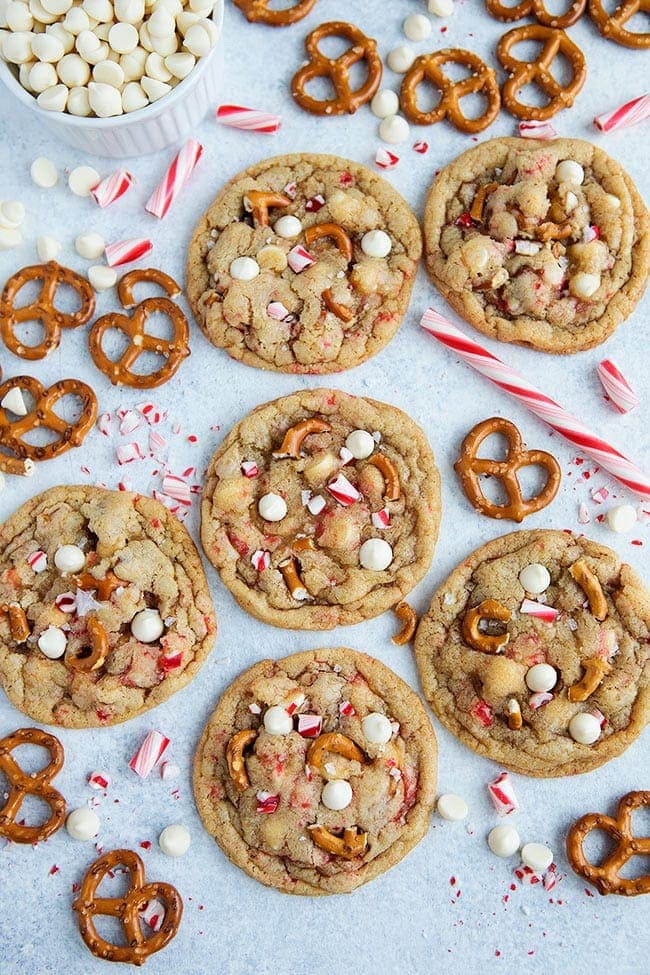
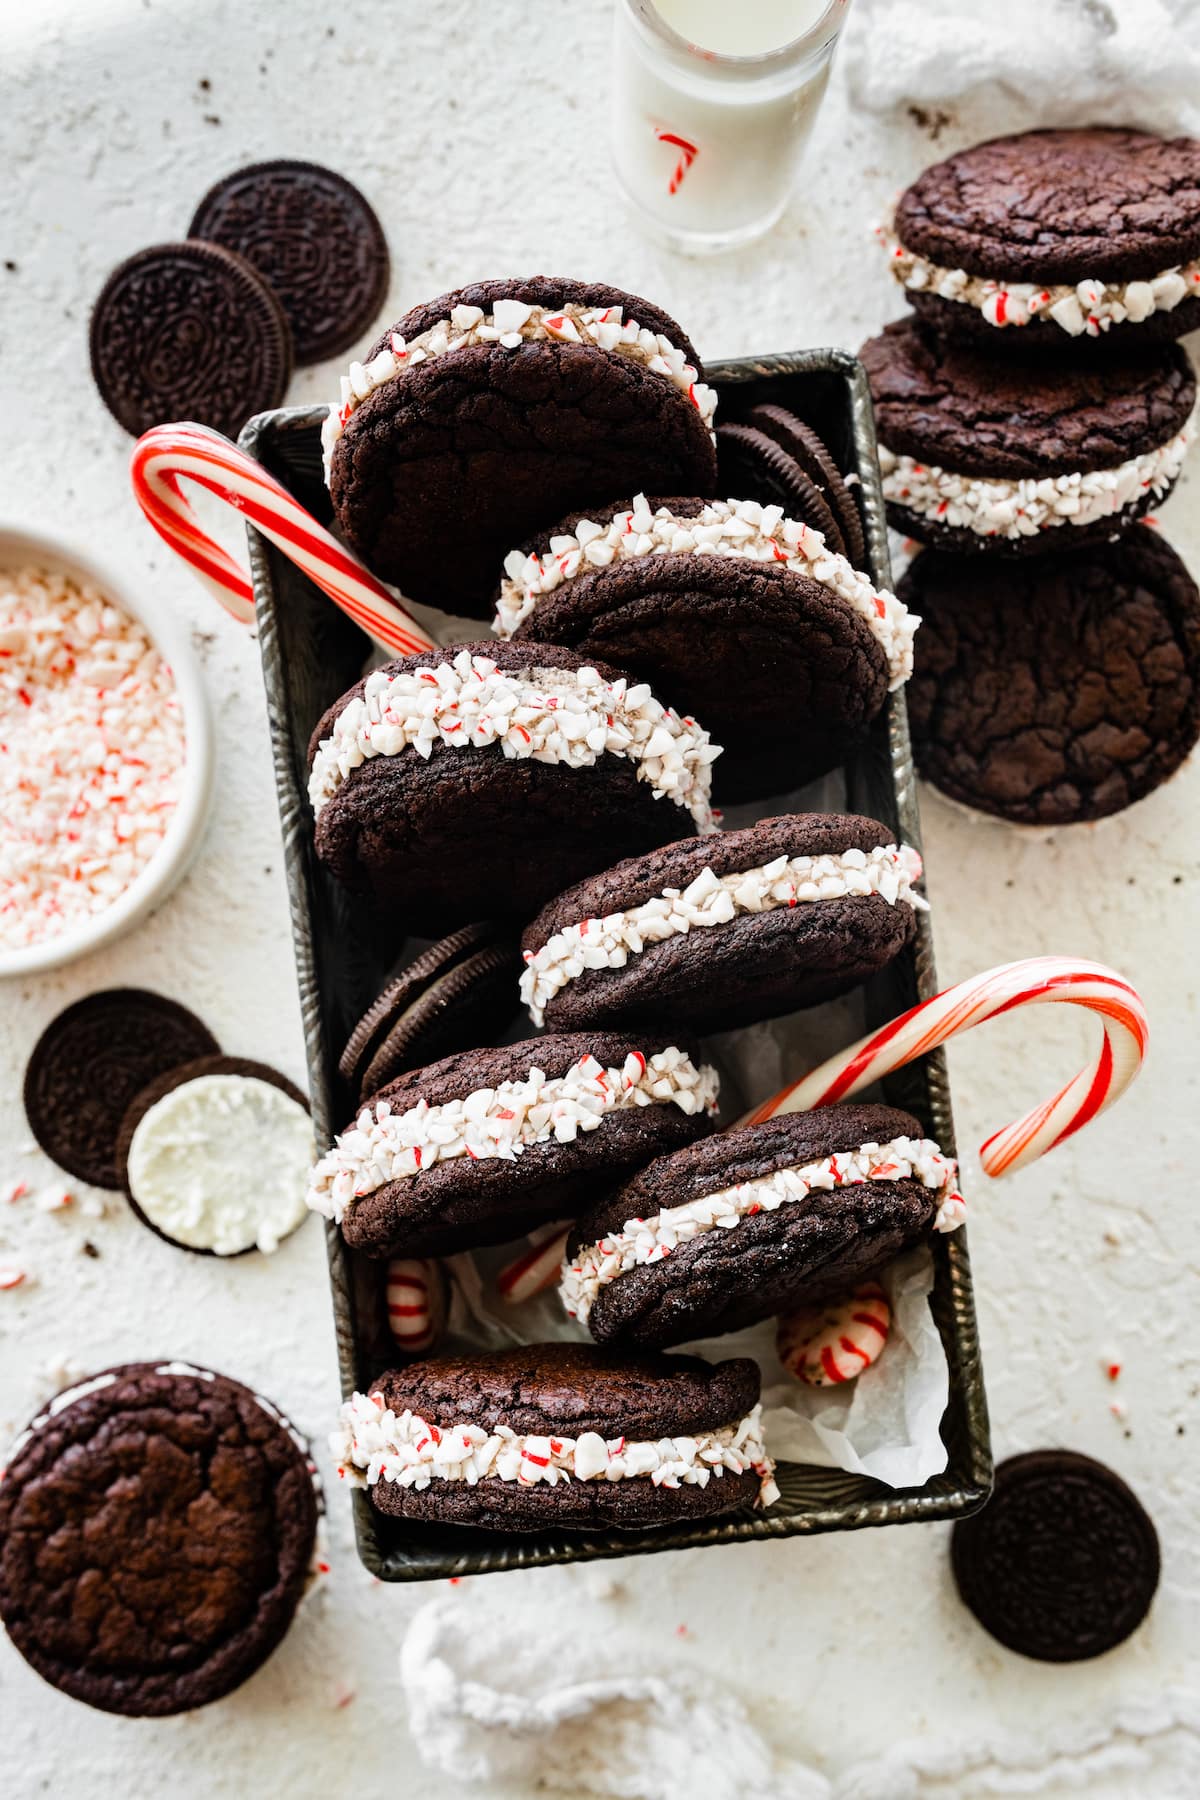
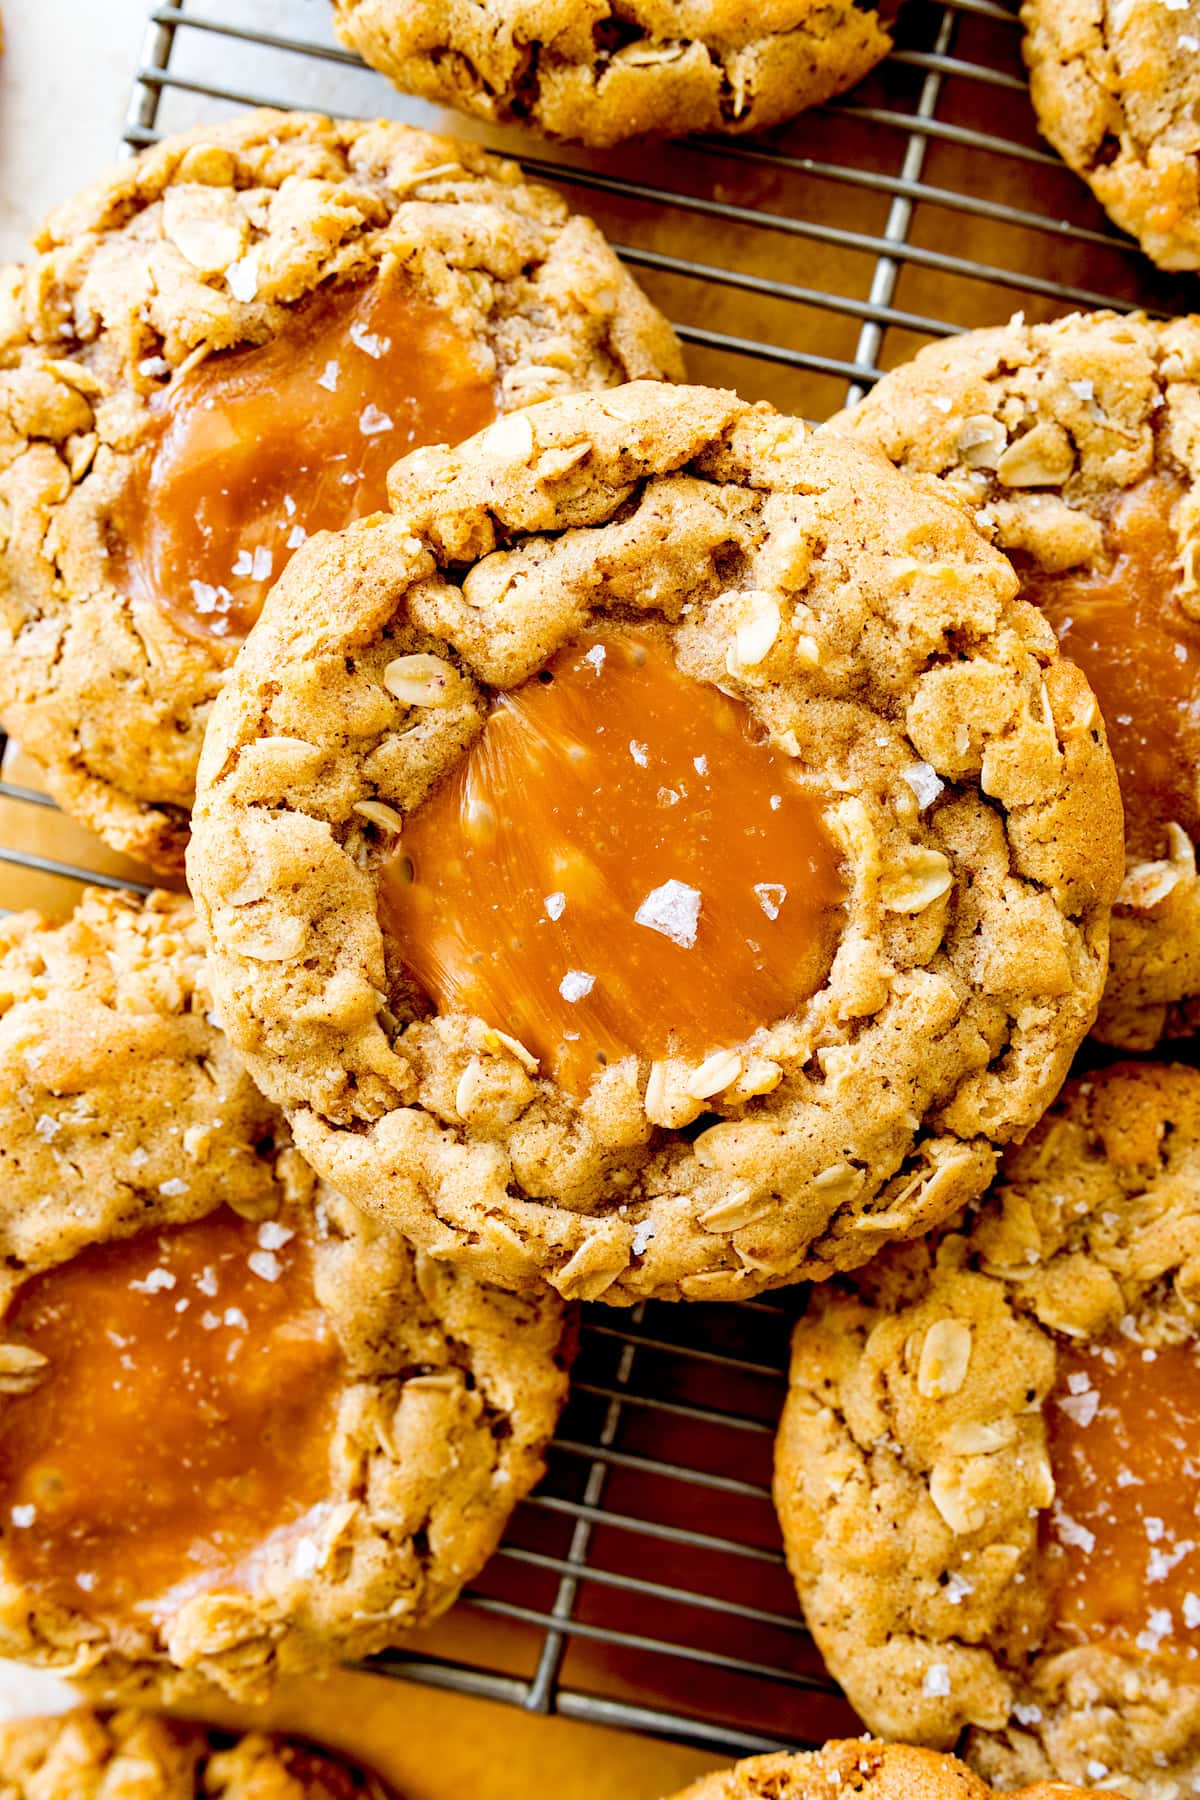
Creative Cookies

Fruity Cookies
Baking Tips from a Cookie Expert
I’ve baked thousands of cookies over the years (and even wrote a cookie cookbook, Let’s Eat Cookies ), so I’ve learned a few tricks along the way to make sure your cookies turn out perfectly every time.
- Choose the right baking sheet: Use light-colored sheets and line with parchment paper to prevent the bottoms of your cookies from burning. I love this half-sheet pan .
- Flour Power: Fluff, spoon, and level your flour, never pack it, or cookies will turn dry and puffy.
- Butter Basics: Use cool, room-temperature butter. Too soft and your cookies will spread too much.
- Egg Advice: Cold eggs work perfectly, no need to warm them for cookies.
- Vanilla Magic: Use pure vanilla and don’t hold back, the flavor really makes a difference.
- Mix-In Moves: Fold in chocolate, nuts, or oatmeal with a spatula after dry ingredients are just combined.
- Don’t over bake: Set a timer and check a couple minutes early. Remove cookies when edges are set but centers are still soft—they finish while cooling.
- Shape & Garnish: When the cookies come out of the oven, use a spatula to shape the cookies while they are still warm. Gently press in chocolate chips, M&Ms, or nuts to make them extra pretty!
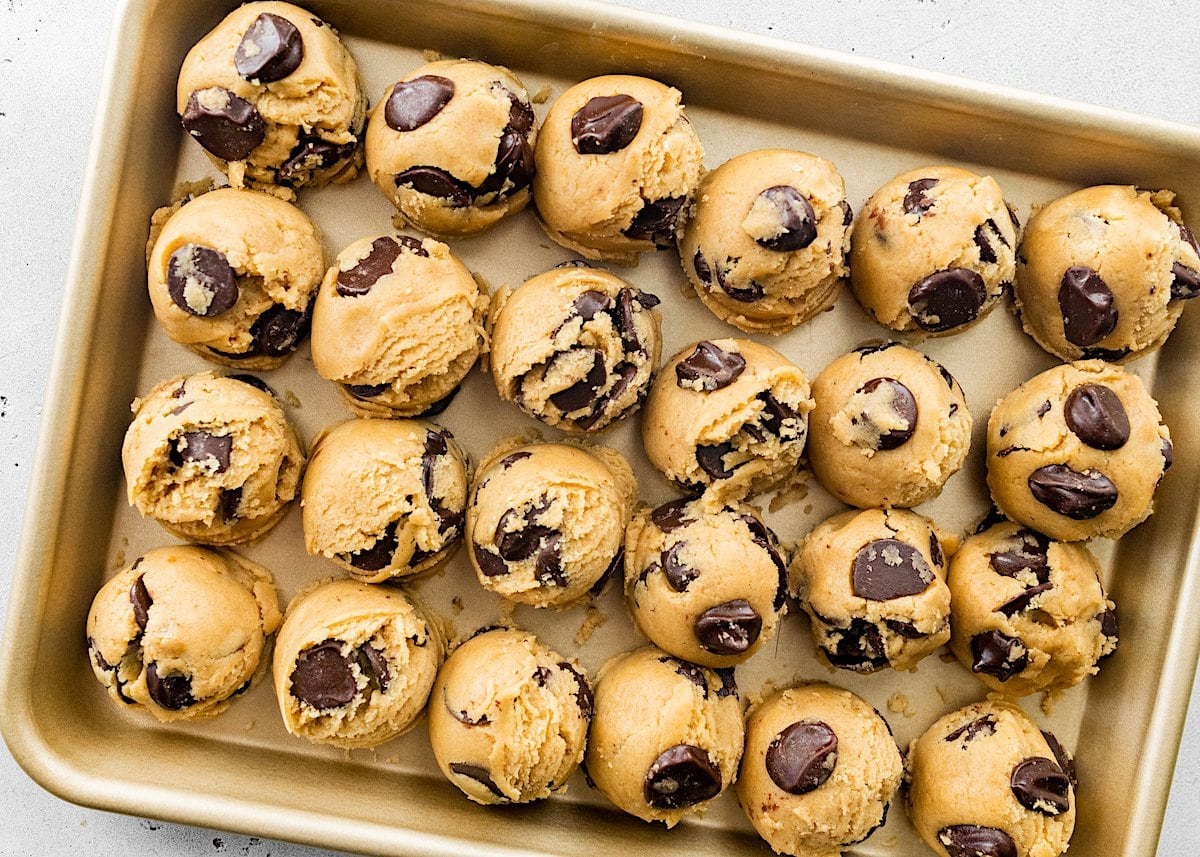
- Chill for Best Results: Chill dough or scoops for better flavor and shape, up to 72 hours. Let sit briefly before baking.
- Flavor Boost: Sprinkle flaky sea salt on warm cookies to enhance the flavors.
Storing & Freezing Cookies
The holidays are busy, so having a plan for storing and prepping cookies can save you time. These tips will help you keep cookies fresh or bake ahead for parties, gifts, and cookie exchanges.
- Divide & Conquer: I love doing a dough day and a baking day. Make all your cookie doughs one day and refrigerate for up to 72 hours. Then bake them all on another day so every cookie comes out fresh and perfect.
- Storing Baked Cookies: Let cookies cool completely on a wire rack, then store in an airtight container at room temperature for up to 3 days. To keep them soft, add a slice of bread or a large marshmallow—the cookies stay soft while the bread or marshmallow hardens.
- Freezing Cookie Dough: Scoop dough into balls, freeze on a sheet for 30 minutes, then transfer to a labeled container or freezer bag for up to 3 months. Bake straight from the freezer, just add a couple minutes to the baking time.
- Freezing Baked Cookies: Cool cookies completely, then stack in a freezer-safe container or bag, using wax paper between layers if they have glaze or frosting. Freeze up to 3 months. Thaw at room temperature, or enjoy straight from the freezer for a sneaky treat!
Gifting Cookies
Cookies are even better when shared! Over the years, I’ve found a few ways to make cookie gifting extra special:
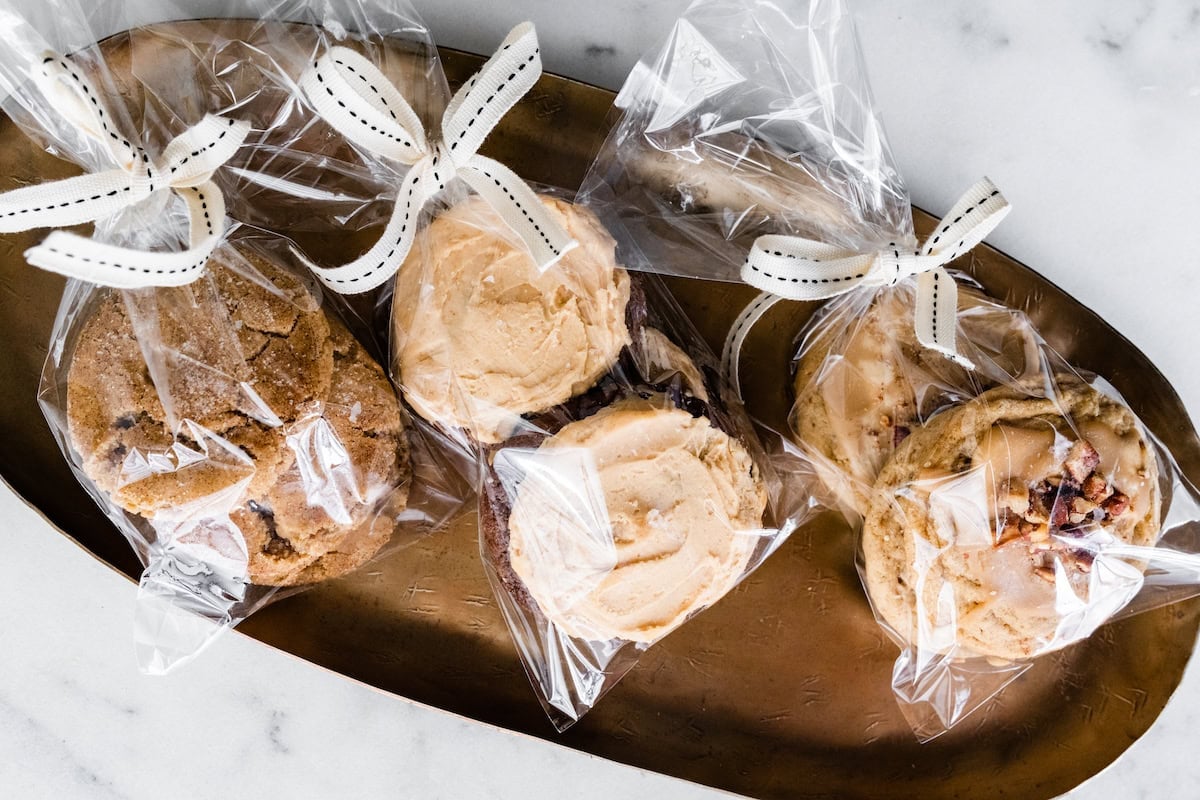
- Package cookies in festive tins , boxes , bakery bags , or cellophane bags .
- Add ribbon , twine , or holiday tags for a personal touch.
- Layer cookies with parchment paper so they don’t stick.
- For a variety of flavors , stack similar cookies together, and individually wrap very different flavors to keep tastes separate.
- Label each cookie or add a note, especially helpful for multiple flavors or allergies.
- If you are shipping cookies , pay extra for speedy delivery! You want the cookies to be fresh! Package them tightly and add tissue paper or other fillers so they don’t get broken.
Craving Even More Cookies?
If you’re looking for even MORE cookie recipes, I’ve got hundreds of tried-and-true favorites waiting for you.
Explore all of my cookie recipes here → The BEST COOKIE RECIPES !
Thumbprint Cookies
By Maria Lichty
Published on December 06, 2022
Quick Summary
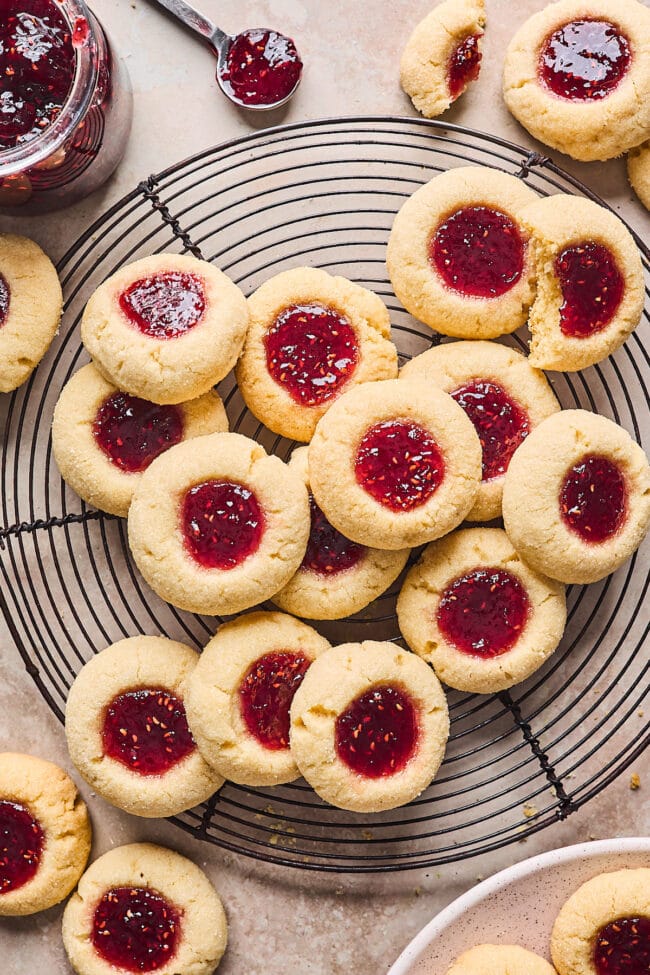
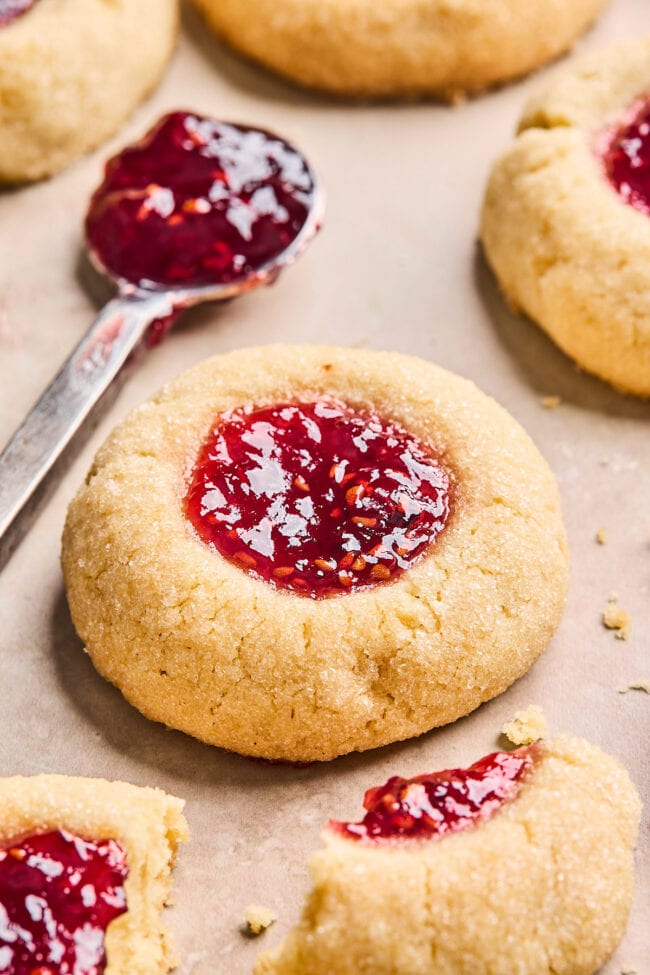
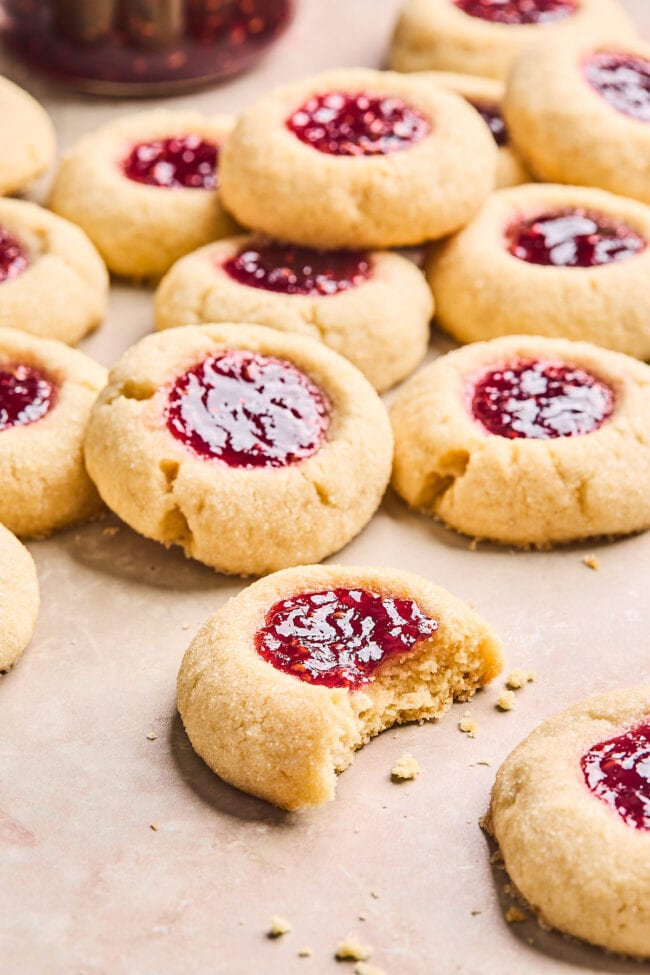
Thumbprint Cookies-buttery shortbread cookies rolled in sugar and filled with sweet raspberry jam! These beautiful little cookies are a classic Christmas cookie, but can be enjoyed anytime of the year.
I love creating new cookie recipes , but I also love the classics. One of our favorite cookies to make at Christmas time are Thumbprint Cookies . They are a holiday favorite and a great addition to any cookie platter.
So what are Thumbprint Cookies? If you haven’t had a jam thumbprint, you are in for a real treat! They are buttery, tender shortbread cookies with a sweet jam center. I like to use raspberry jam because it is sweet, tart, and I love the deep red color. But you can fill the thumbprints with your favorite jam!
They cookies are simple, but elegant and super delicious. You can’t go wrong with a classic!
- Cookie Ingredients
- How to Make Thumbprint Cookies
- How to Store Thumbprint Cookies
- How to Freeze Thumbprint Cookies
- Thumbprint Cookie FAQ
- More Christmas Cookie Recipes
- Jam Thumbprint Cookies Recipe
Cookie Ingredients
Simple ingredients come together to make the most amazing cookies!
- Flour – use all-purpose flour!
- Salt – to bring flavor to the cookies.
- Butter – Use unsalted butter and make sure it isn’t too soft or melted. You want the butter at cool room temperature.
- Sugar – you will need granulated sugar for the cookie dough and for rolling the cookies before baking.
- Brown sugar – I like to use a little brown sugar for flavor and to keep the cookies tender and not dry.
- Egg yolk – an egg yolk creates a rich cookie and holds everything together.
- Vanilla extract – a must! If you like almond extract, you can add ¼ teaspoon to the dough.
- Jam – I prefer raspberry jam, but any flavor will do! Make sure you use a nice, thick jam! Splurge to get a good quality jam since it’s a big part of the cookie! If your jam is SUPER thick, you can put it in a bowl and give it a good stir. If it is still too thick, heat it in the microwave for just a few seconds to loosen it up.

How to Make Thumbprint Cookies
These little gems are easy to make and SO pretty!
- In a medium bowl, whisk together the flour and salt. Set aside.
- Use a stand mixer or hand mixer to beat the butter and sugars together. Scrape down the sides of the bowl with a spatula, as necessary. Add the egg yolk and vanilla extract and mix until well combined.
- Add the dry ingredients and mix on low until just combined. Don’t over mix the dough!
- Roll the dough into balls, about 1 ½ teaspoons per cookie. Place the remaining ½ cup sugar in a small bowl. Roll the balls in the sugar until well coated.
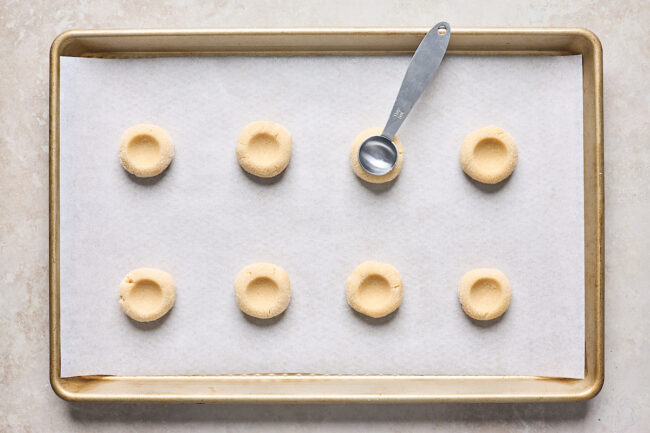
- Place on a baking sheet that has been lined with parchment paper or a Silpat baking mat, you may need 2 sheets.
- Use the rounded back of a teaspoon or your thumb to gently press an indentation in the center each cookie dough ball. Transfer the baking sheet to the freezer and chill for 30 minutes.
- Preheat the oven so it is hot and ready to go!
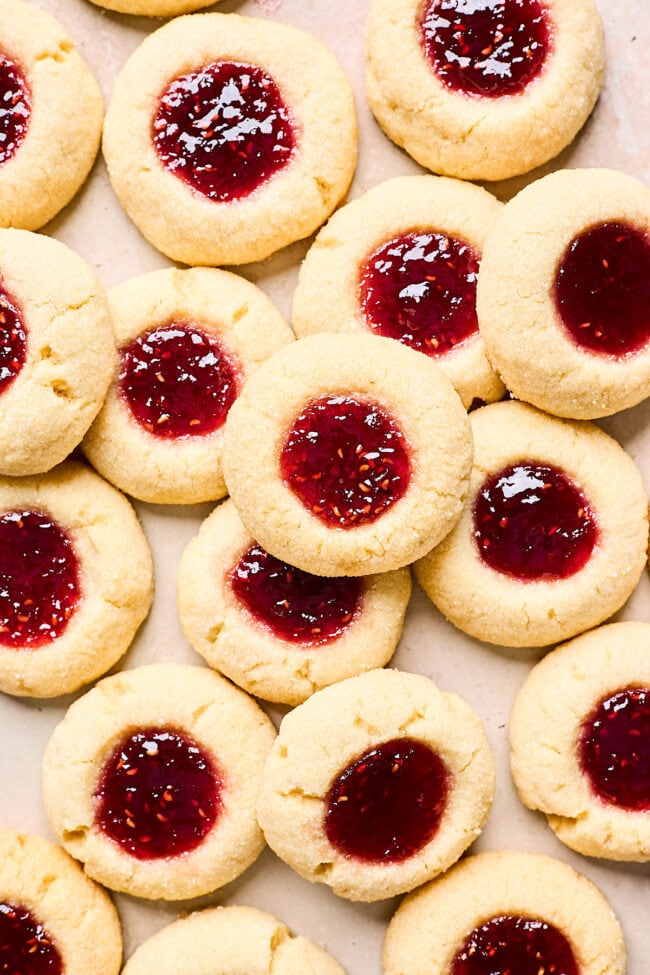
- Fill a small zipper-lock bag with the jam. Use scissors to snip a small corner off the bag. Carefully fill each indentation with about a ½ teaspoon of jam. Alternatively, you can use a small spoon or teaspoon to fill the centers with jam. Don’t over fill or the jam will ooze out in the oven. Less is best!
- Make sure the cookies are 2-inches apart on the baking sheets. Bake one pan at a time, for 10 to 12 minutes or until the edges are light golden brown.
How to Store Thumbprint Cookies
Store the cooled thumbprint cookies in an airtight container at room temperature on the counter. You don’t have to refrigerate the cookies. I don’t recommend stacking the cookies because of the jam.
These cookies will stay fresh for up to 5 days.
How to Freeze Thumbprint Cookies
If you want to freeze cookies, I recommend freezing the unbaked cookies before adding jam.
Make the cookie dough and form them into thumbprints. Place the cookies on a tray and freeze until firm, about 30 minutes to an hour. Once frozen, transfer the the unbaked cookies to a freezer container or freezer bag and freeze for up to one month.
When ready to bake, preheat the oven and arrange the cookies on the baking sheets. Fill with jam and bake. It’s ok if the cookies are still a little frozen when going into the oven, you might have to add an additional minute to the baking time.
Make sure you use a thick jam and not a runny jam. I prefer raspberry jam, but strawberry, blackberry, apricot, or mixed berry are all good options. Use your favorite flavor.
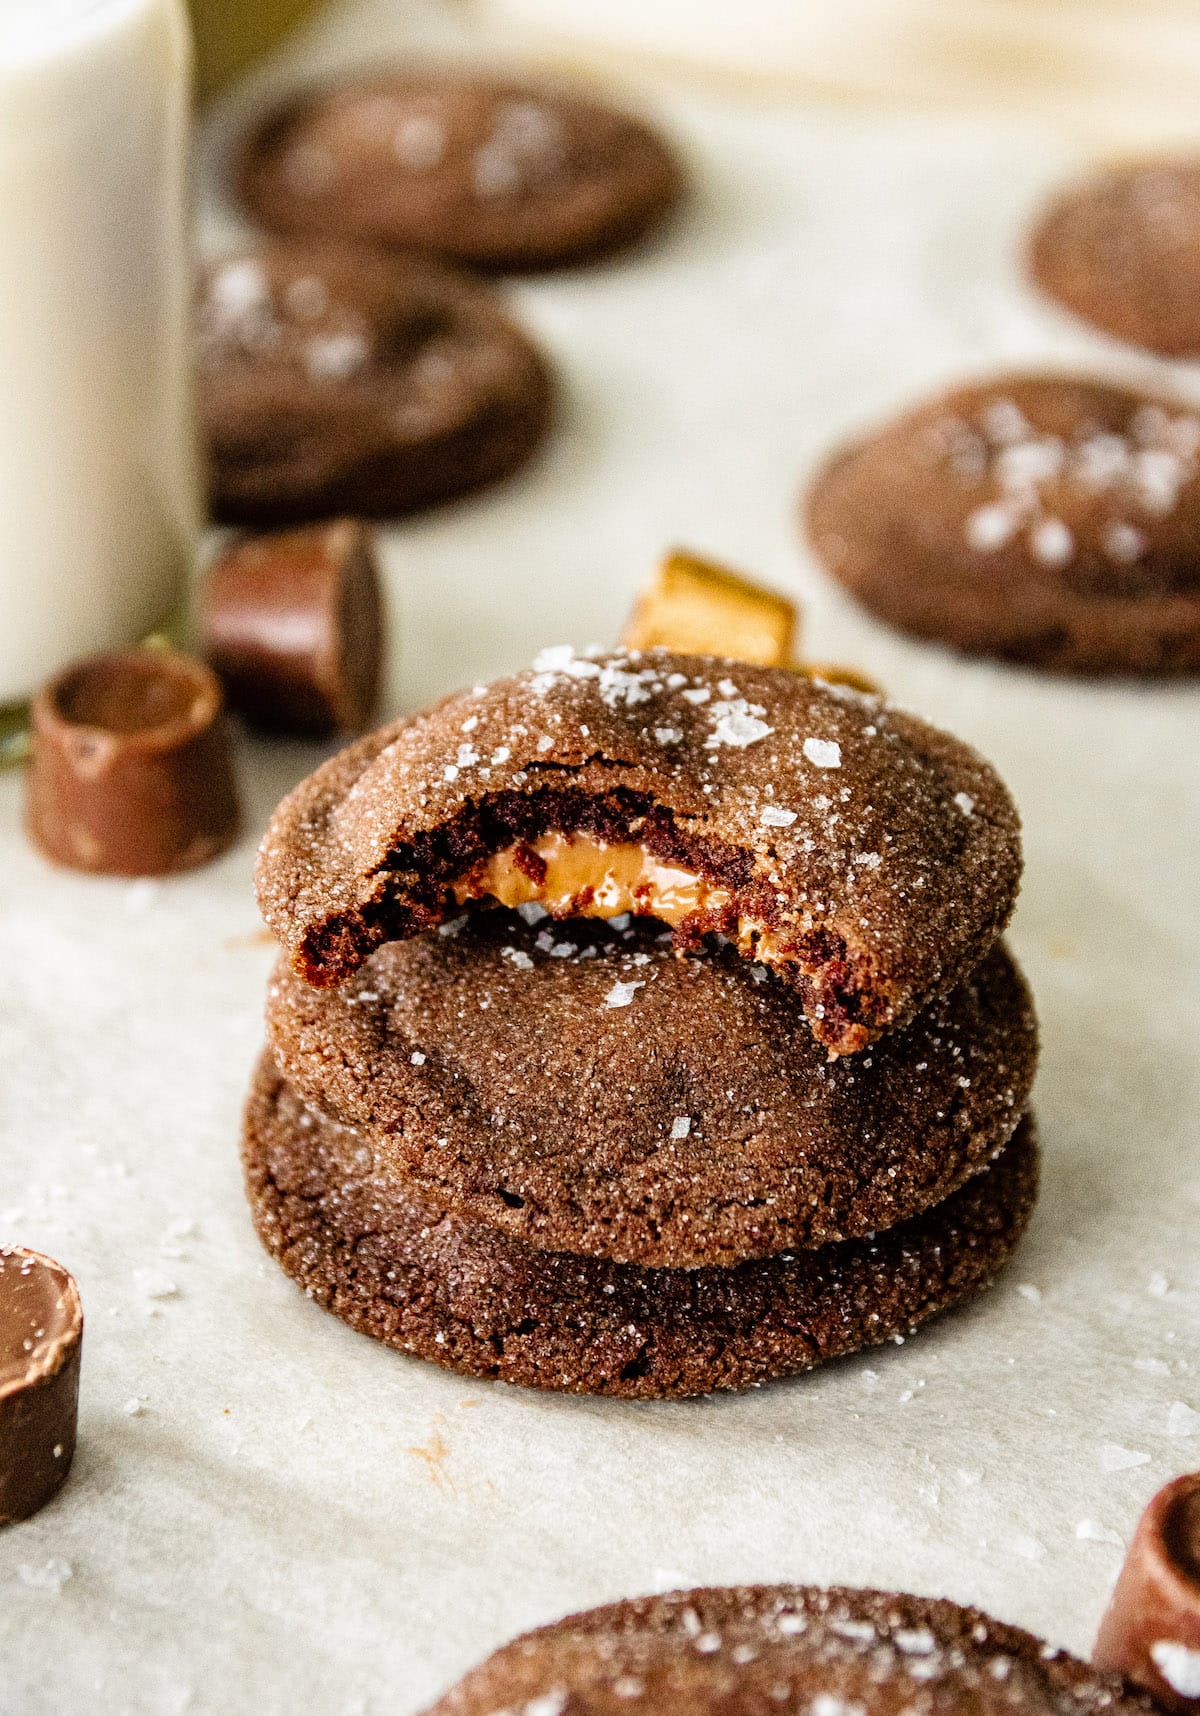
Yes! If you don’t care for jam, fill the cookies with melted chocolate, lemon curd, salted caramel sauce, marmalade, or Nutella.
Fill the cookies with jam before baking so it can set up in the oven.
Make sure when you are pressing the back of the teaspoon or your thumb into the center of the cookie dough you don’t press too hard. Gently press! If the edges of the cookie start to crack a little, you can gently press it back together.
Make sure your butter isn’t too soft when making the dough. It should be at cool room temperature and not super soft or greasy. Also, don’t make your cookies too big, thumbprints are smaller cookies. And most importantly, make sure you you chill the dough! After you form the cookies, place the unbaked cookies in the freezer for at least 30 minutes before baking. This will prevent them from spreading.
Yes! I recommend freezing the unbaked cookies before you fill them with jam. See above for my tips!
More Christmas Cookie Recipes
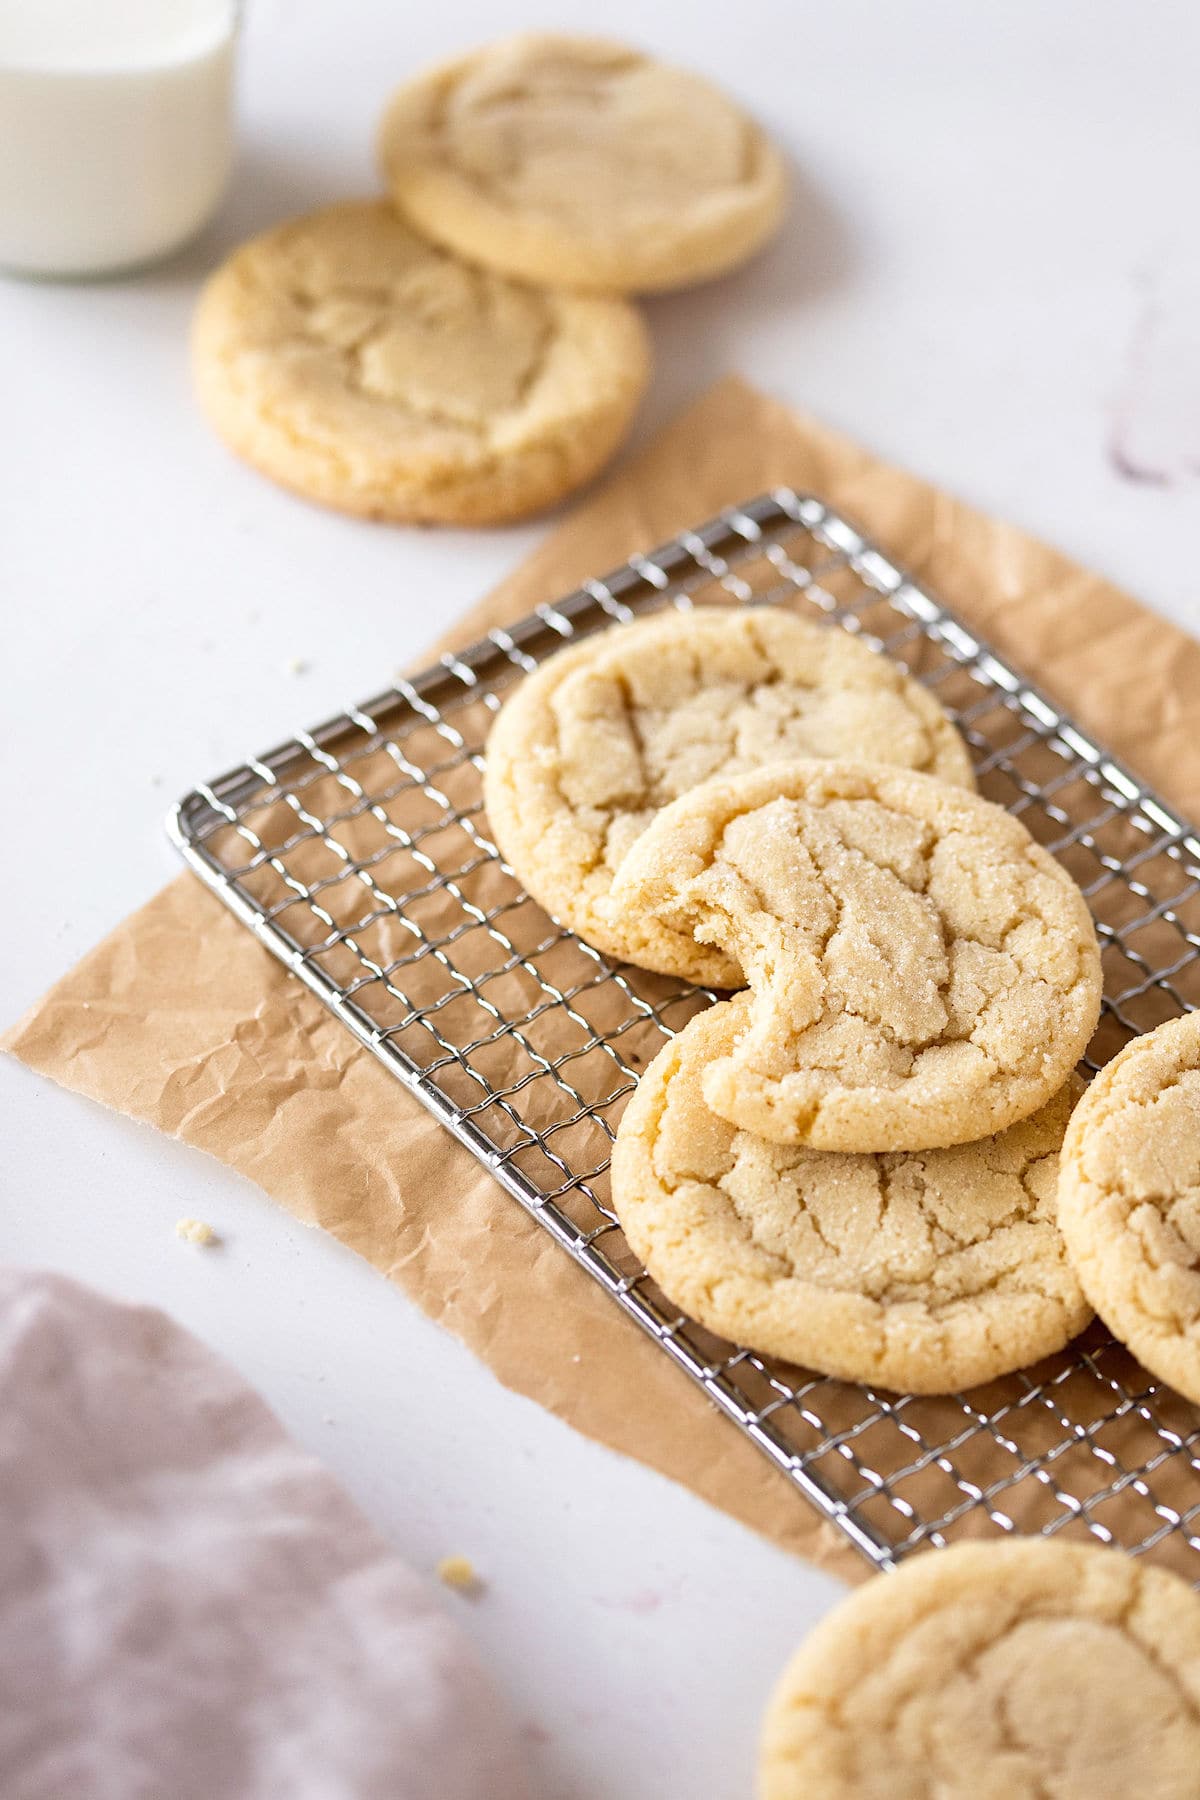
- Easy Sugar Cookies
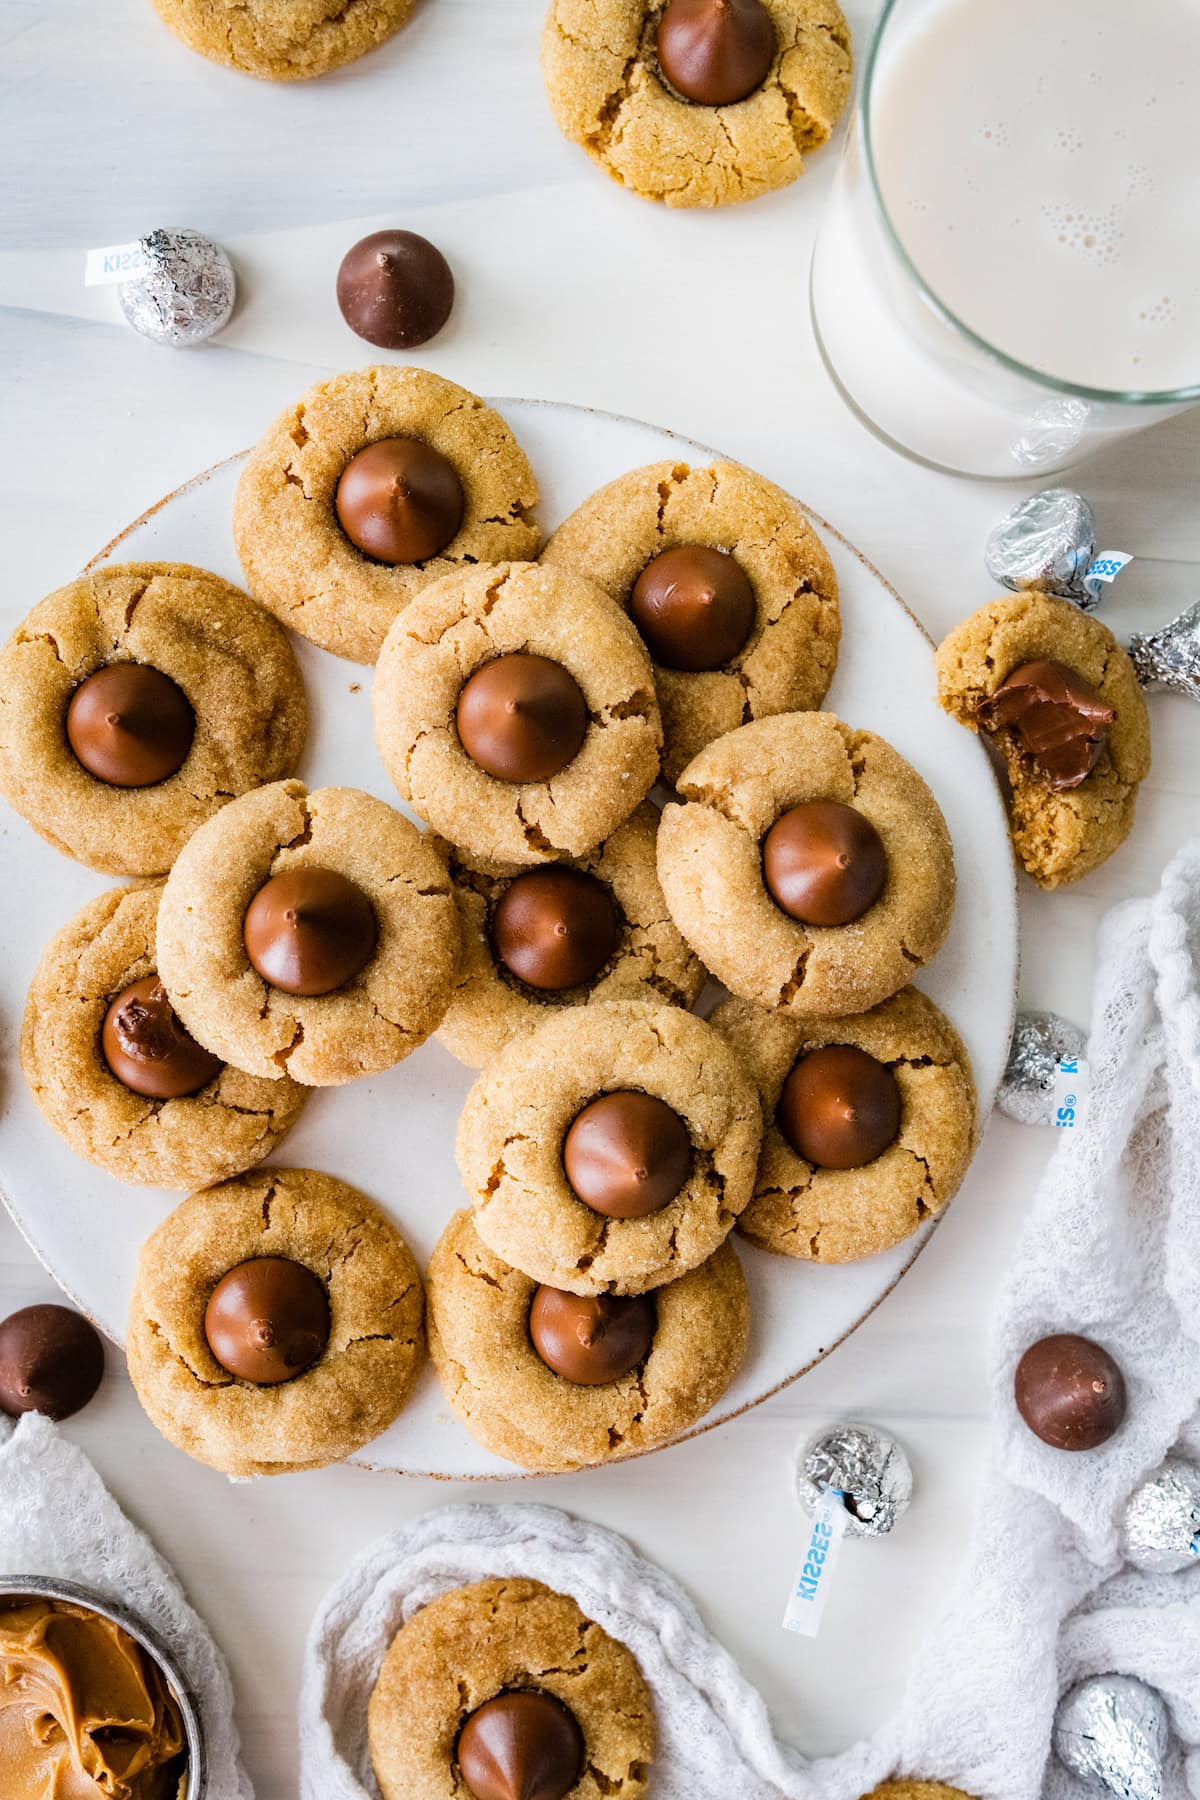
- Peanut Butter Blossoms
- Andes Mint Cookies
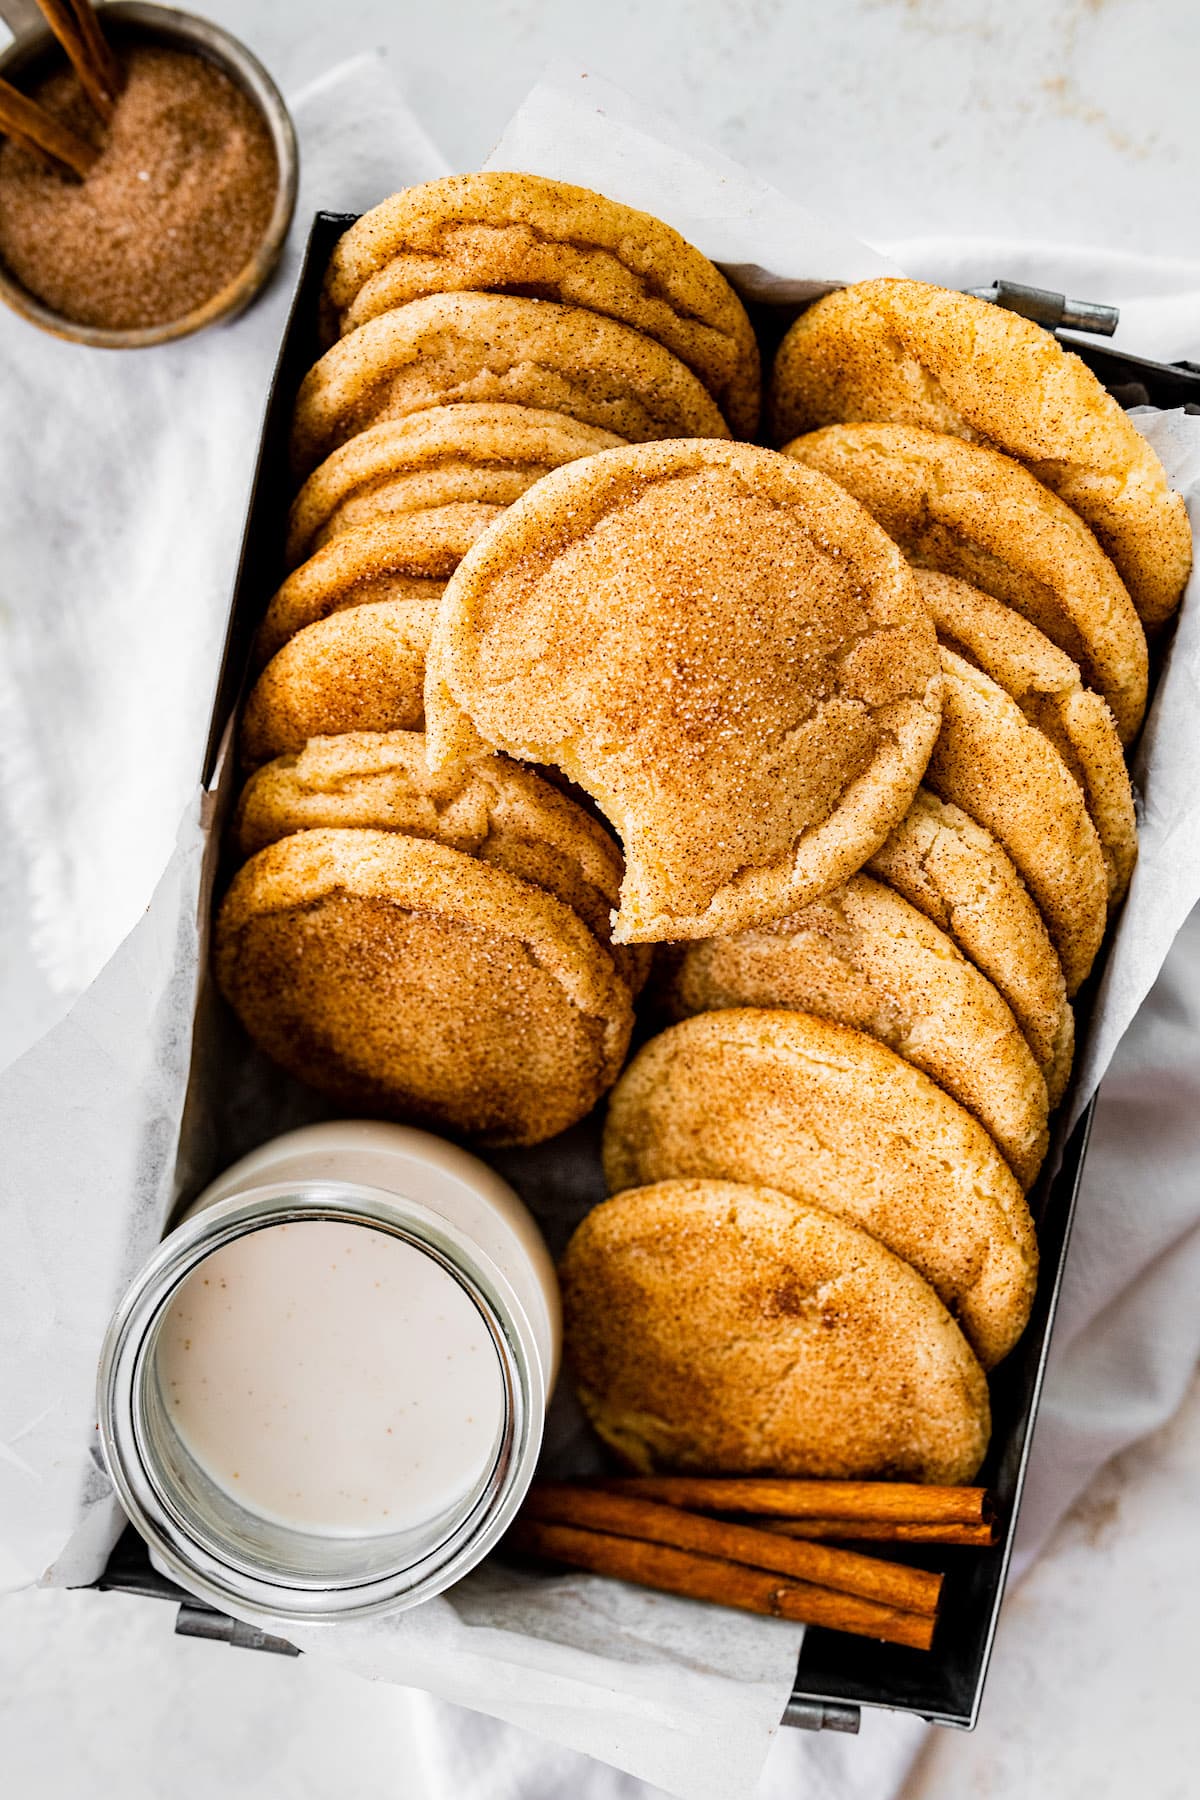
- Snickerdoodles
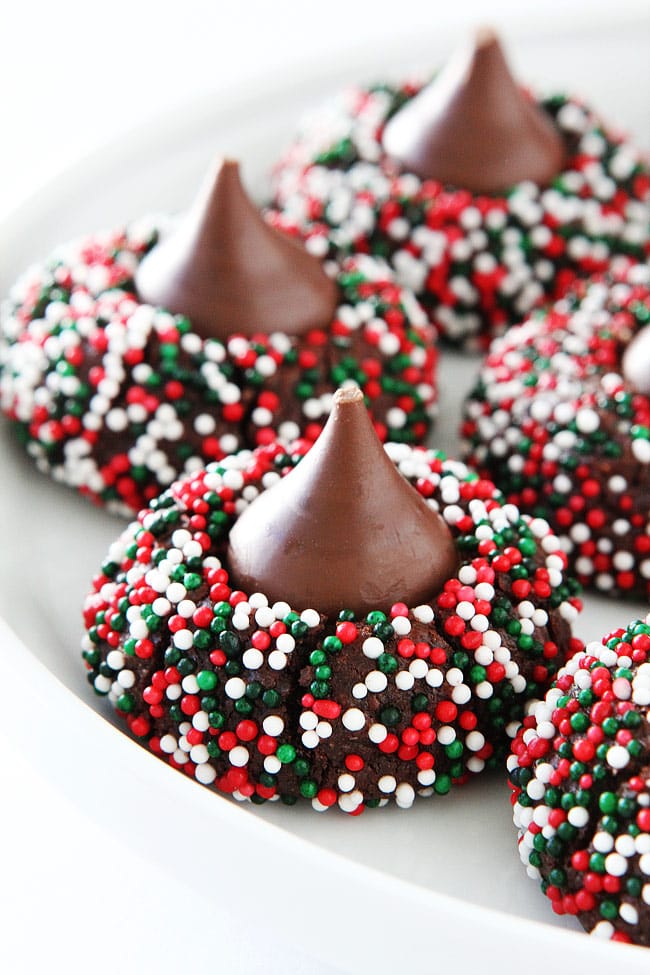
- Chocolate Kiss Cookies
- Mexican Wedding Cookies
Cookies
Jam Thumbprint Cookies
Equipment
- Baking Sheets (I love these cookie sheets !)
- Stand Mixer (I’m obsessed with my KitchenAid)
- Silpat Baking Mat (these prevent cookies from sticking)
Ingredients1x2x3x
- 2 1/4 cups all-purpose flour
- 1/2 teaspoon salt
- 1 cup unsalted butter, at cool room temperature
- 1 cup granulated sugar, divided
- 3 tablespoons light brown sugar
- 1 large egg yolk
- 1 1/2 teaspoons vanilla extract
- 2/3 cup thick raspberry jam, or jam of your choice
Instructions
- In a medium bowl , whisk together the flour and salt. Set aside.
- In the bowl of a stand mixer fitted with the paddle attachment, beat the butter for 1 minute on medium speed. Add ½ cup of the granulated sugar and brown sugar and mix until light and fluffy, about 2 minutes. Scrape down the sides of the bowl with a spatula, as necessary. Add the egg yolk and vanilla extract and mix until well combined.
- Add the dry ingredients and mix on low until just combined.
- Roll the dough into balls, about 1 ½ teaspoons per cookie. Place the remaining ½ cup sugar in a small bowl. Roll the balls in the sugar until well coated.
- Place on a baking sheet that has been lined with parchment paper or a Silpat baking mat , you may need 2 sheets.
- Use the rounded back of a teaspoon or your thumb to gently press an indentation in the center each cookie dough ball. Transfer the baking sheet to the freezer and chill for 30 minutes.
- Preheat the oven to 350 degrees F.
- Fill a small zipper-lock bag with the jam. Use scissors to snip a small corner off the bag. Carefully fill each indentation with about a ½ teaspoon of jam. Don’t over fill or the jam will ooze out in the oven. Less is best!
- Make sure the cookies are 2-inches apart on the baking sheets. Bake one pan at a time, for 10 to 12 minutes or until the edges are light golden brown.
- Remove from the oven and let the cookies cool on the baking sheet. Enjoy!
Nutrition
Have you tried this recipe?
